Safe Carbon Monoxide Detector Placement for Homes With Gas Furnaces
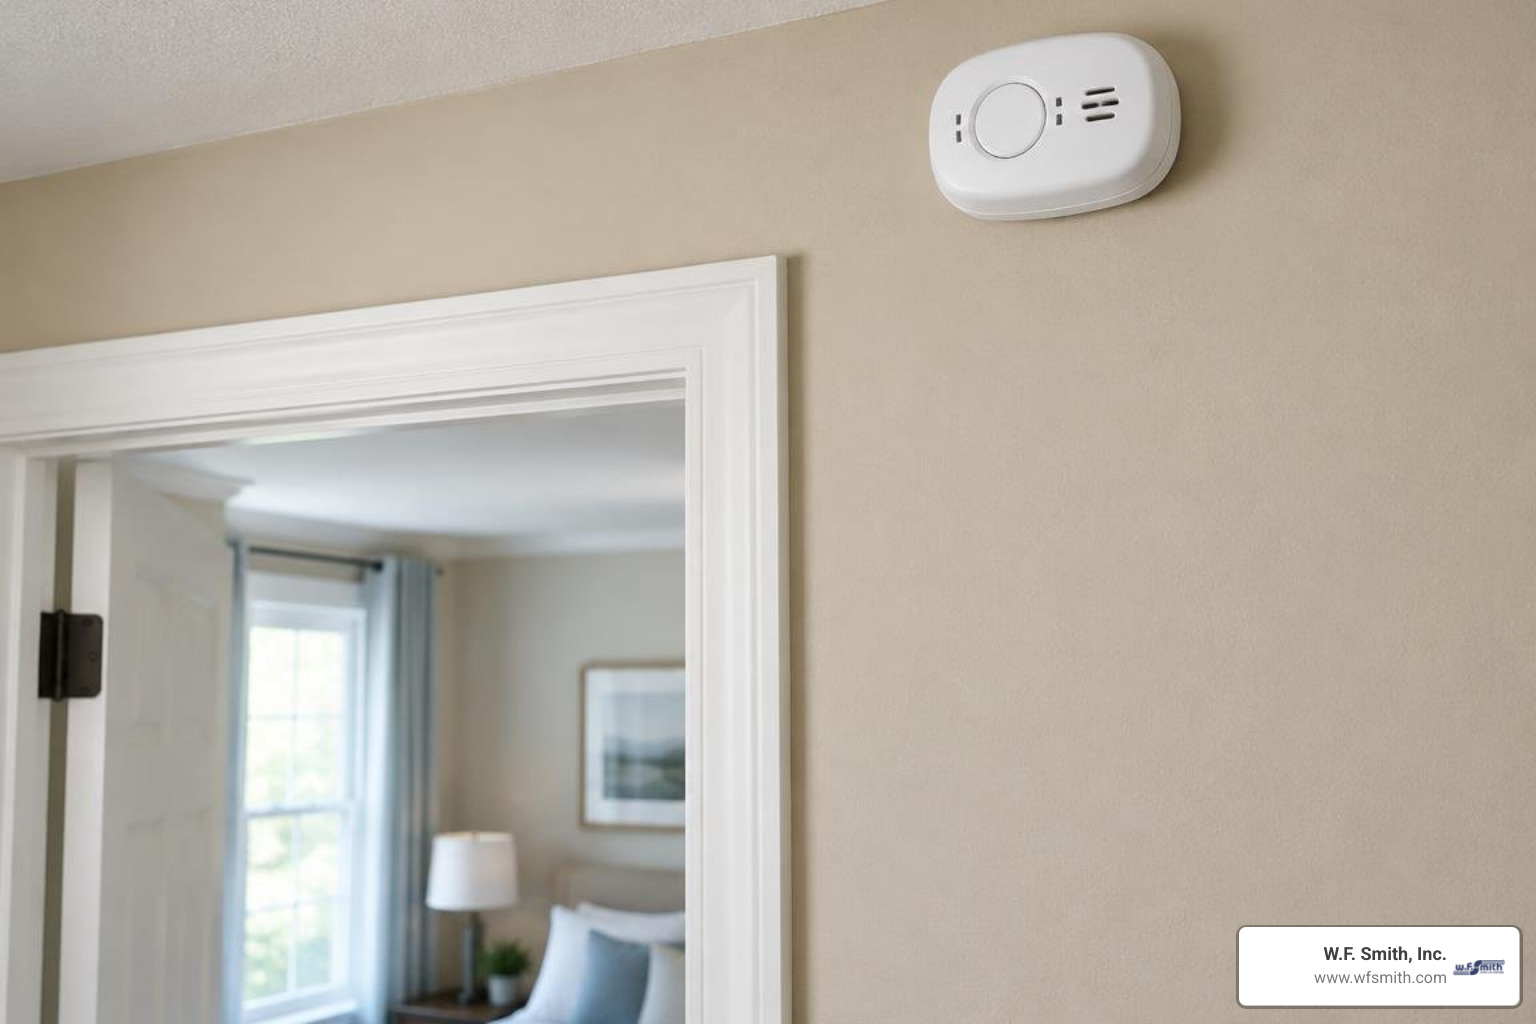
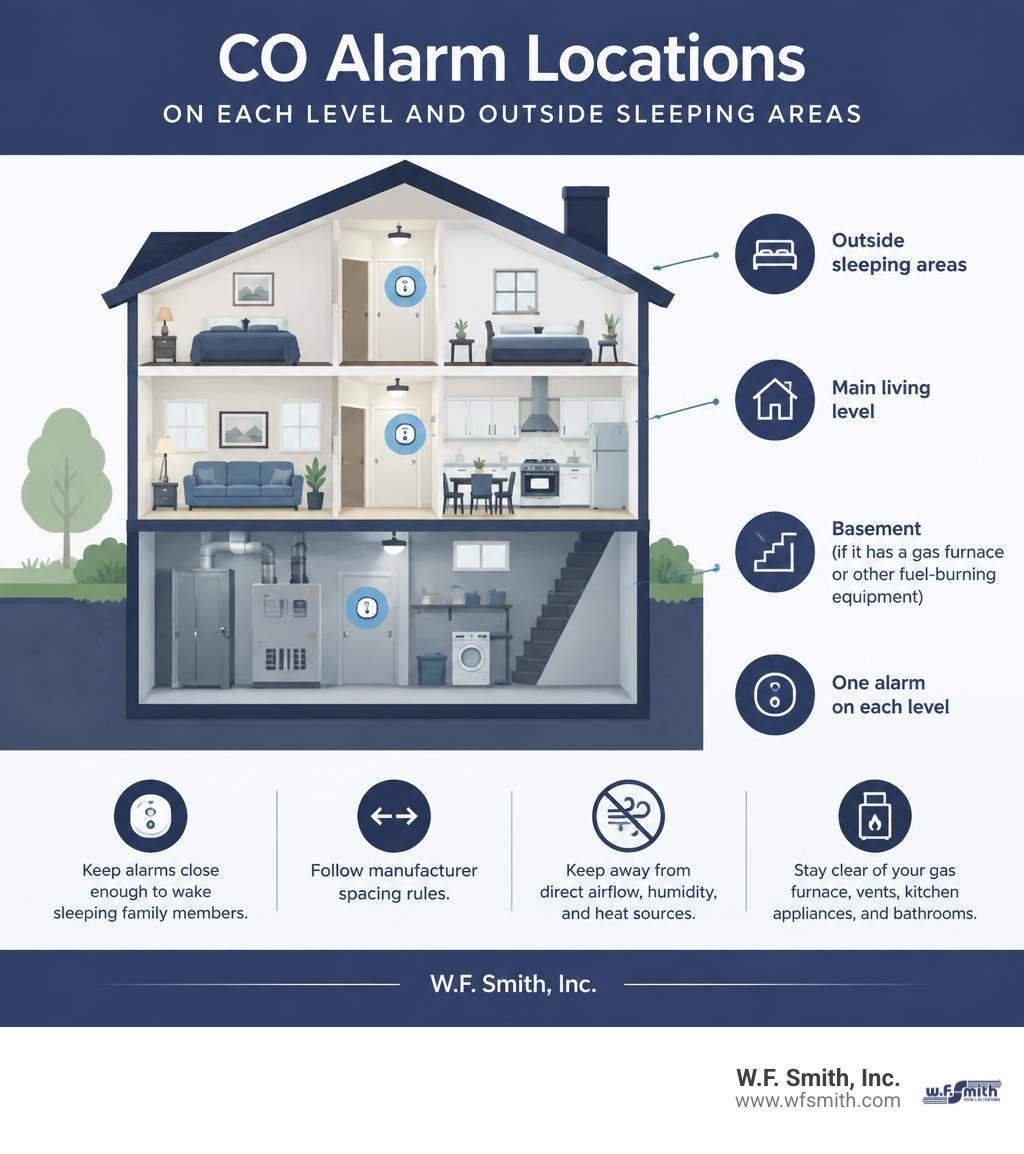
For safe carbon monoxide detector installation, place a CO alarm on every level of your home, including the basement, and outside each sleeping area. Keep alarms close enough to wake sleeping family members, but follow the manufacturer’s spacing rules around your gas furnace, vents, kitchen appliances, and bathrooms.
A simple starting plan for most Cheltenham homes:
- Install one alarm in the hallway outside bedrooms.
- Install one on the main living level.
- Install one in the basement if it contains a gas furnace or other fuel-burning equipment.
- Mount it according to the alarm’s instructions, away from direct airflow, humidity, and heat sources.
Carbon monoxide is invisible and odorless. A properly placed alarm gives your household an early warning if a furnace, flue, or other fuel-burning appliance is producing unsafe CO. Local requirements can vary, so check applicable Pennsylvania and local building rules, especially after a renovation or furnace replacement.
Why Carbon Monoxide Detector Placement Matters for Gas Furnace Owners
Gas heating systems keep our homes warm and comfortable through chilly Pennsylvania winters, but incomplete combustion can generate deadly carbon monoxide (CO) gas. When a natural gas furnace operates correctly, combustion byproducts vent safely outside. However, aging components, cracked heat exchangers, or blocked chimney flues can cause exhaust gases to backdraft into your living spaces.
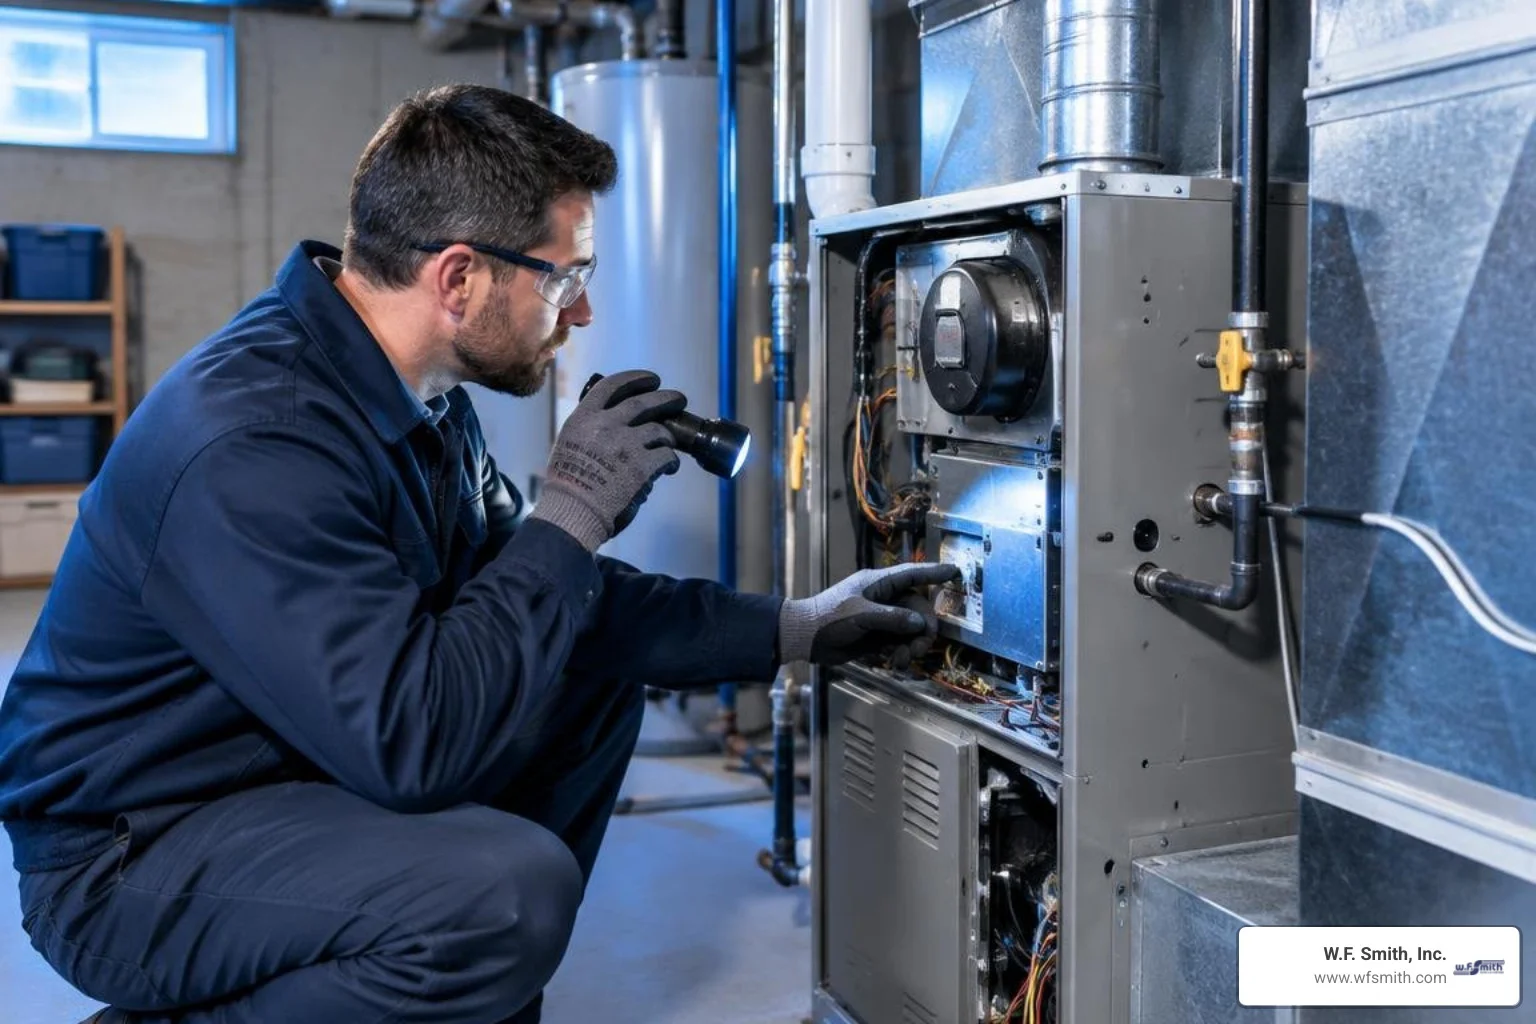
Because carbon monoxide mixes with ambient air rather than pooling solely at the floor or ceiling, unsafe concentrations can spread through living spaces. Scheduling professional furnace services before the heating season gives the W.F. Smith team an opportunity to inspect combustion components, venting, and other furnace-safety concerns.
Indoor air quality can also be affected by ventilation, filtration, and equipment performance. Homeowners can learn more about factors that affect indoor air quality and how those conditions can influence comfort and household safety.
Under UL 2034 testing standards, residential alarms are engineered to respond to specific concentration thresholds:
- 70 parts per million (ppm): Must sound an alarm within 60 to 240 minutes.
- 150 ppm: Must sound an alarm within 10 to 50 minutes.
- 400 ppm: Must sound an alarm rapidly within 4 to 15 minutes.
Without strategic detector placement, high concentrations of gas can build up in sleeping quarters long before an improperly placed alarm in an isolated utility room registers the danger.
Essential Rules for Carbon Monoxide Detector Installation in Residential Homes
To ensure complete coverage, follow standard safety codes like NFPA 720. Every multi-story home needs dedicated monitoring on each level, including finished basements and occupied attics. Protecting family members while they sleep is the top priority, which means installing a detector within a 10-foot radius of every bedroom door.
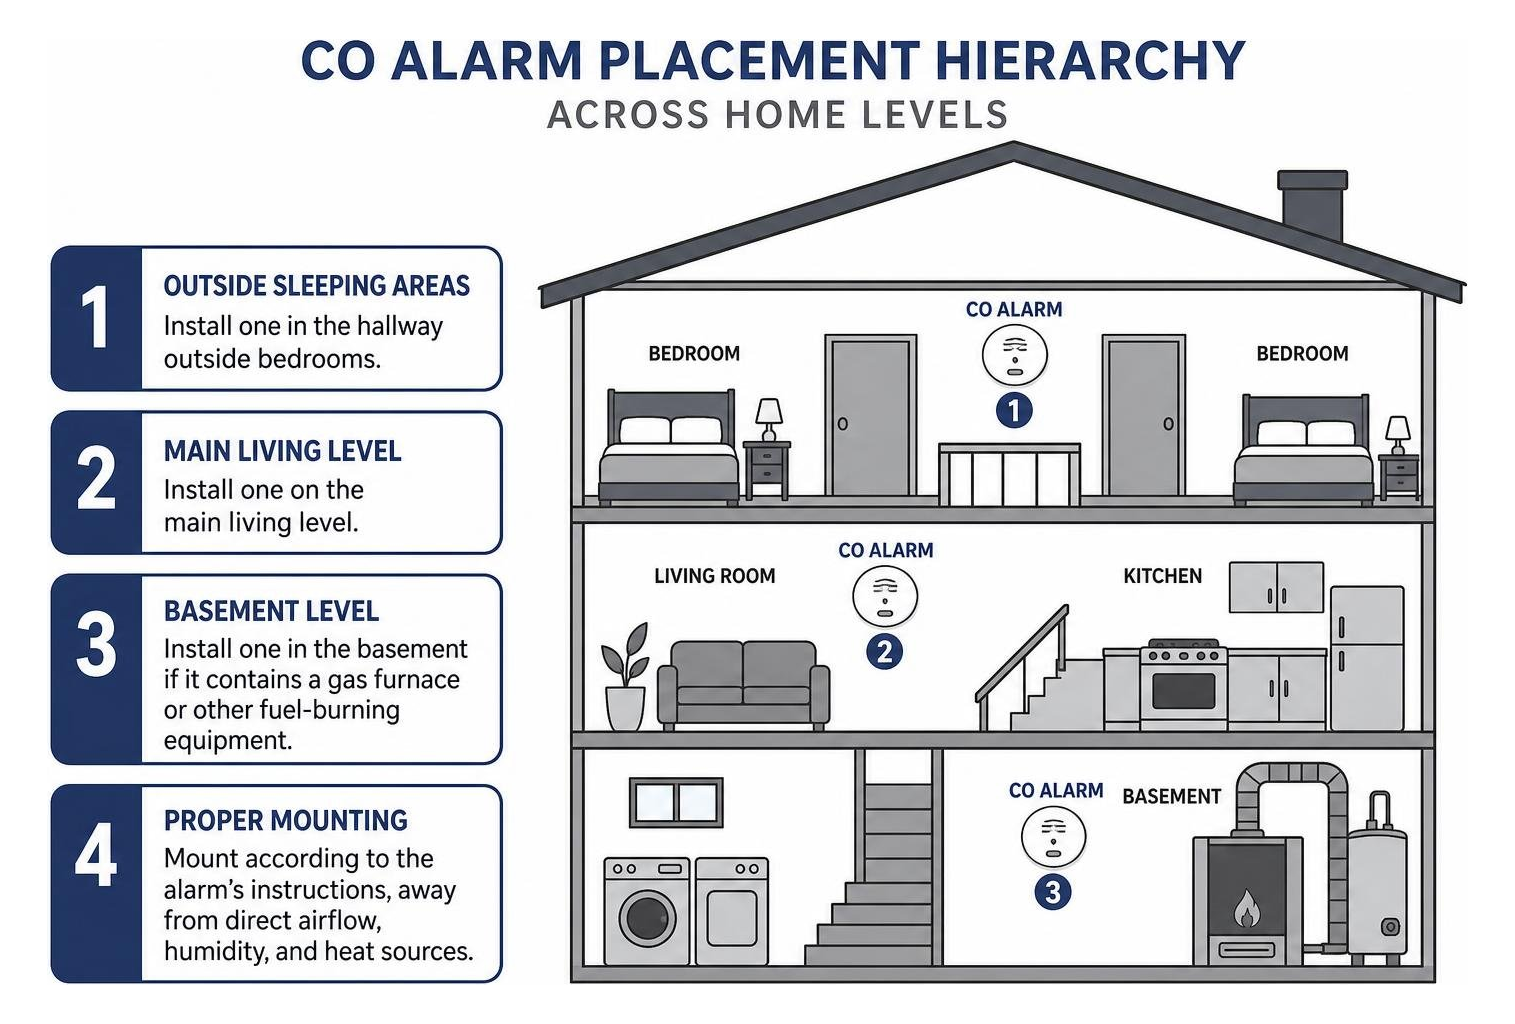
When positioning alarms relative to your gas furnace, maintain a buffer of 15 to 20 feet. Placing a unit directly next to your furnace can cause false alarms from minor startup emissions, while placing it too far away can delay critical warnings. For expansive floor plans with long hallways exceeding 40 feet, consider an alarm at both ends of the corridor.
A broader indoor air quality service plan can help address ventilation, filtration, and humidity concerns that affect the air your household breathes throughout the year.
Proper Mounting Height and Wall vs Ceiling Placement for Carbon Monoxide Detector Installation
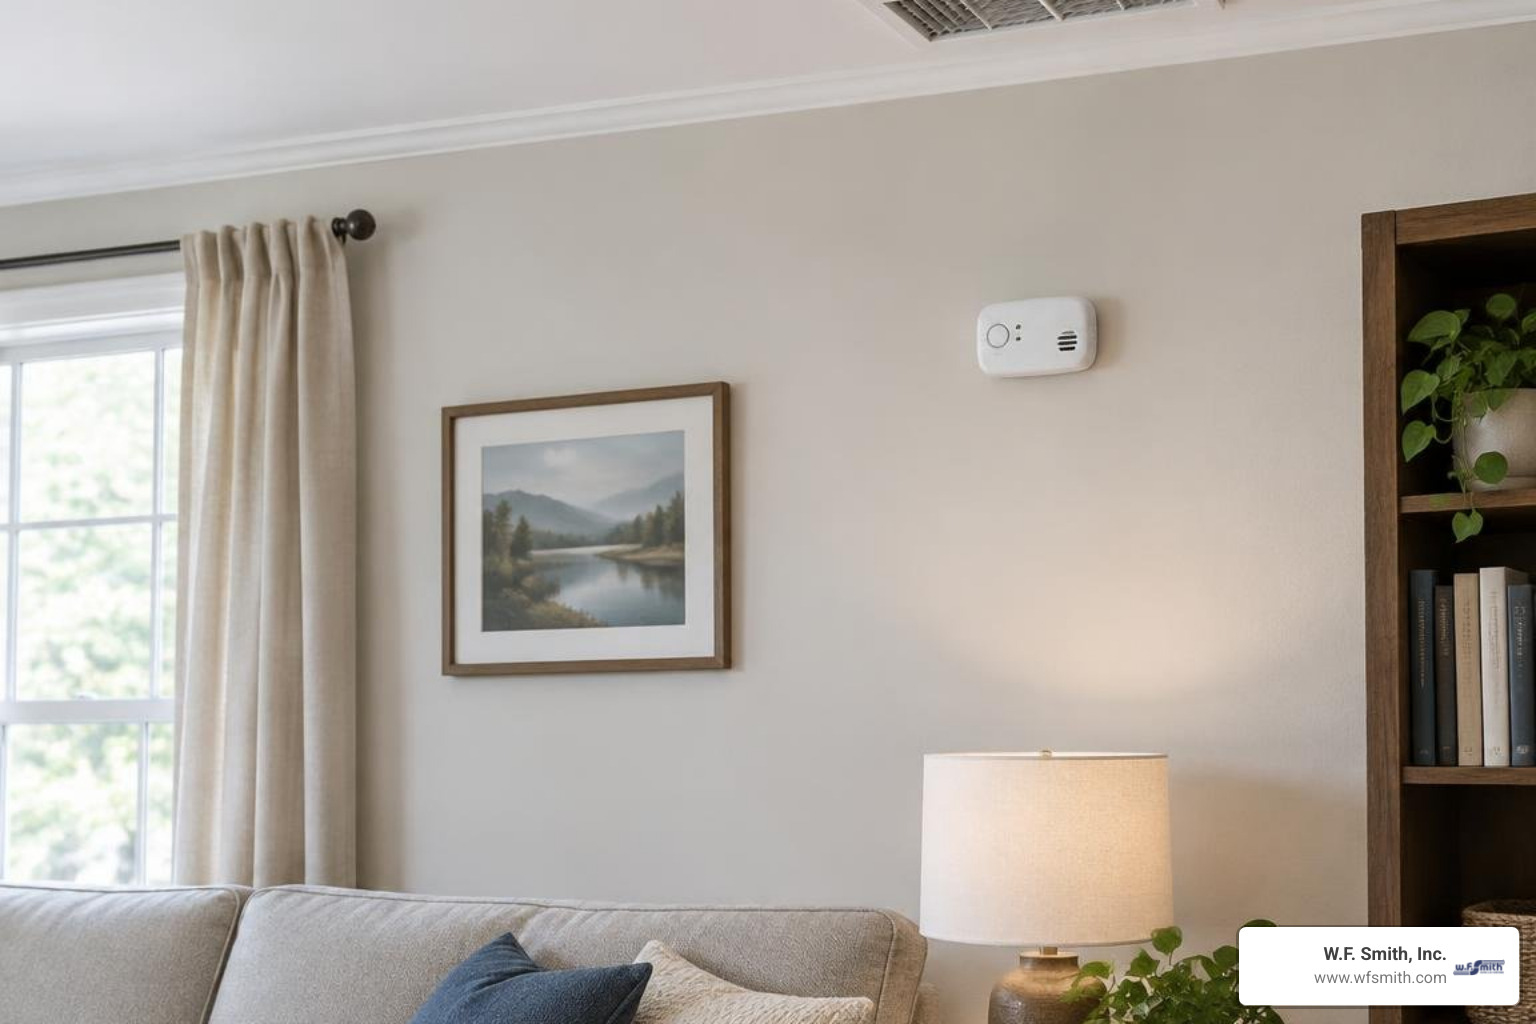
Unlike smoke, which rises quickly due to thermal lift, carbon monoxide has a density very similar to air. This allows it to disperse throughout a room. For wall-mounted alarms, the recommended height is typically around 5 feet above the floor, which also allows you to view digital screens and reach the test button.
If you choose ceiling placement or combination smoke/CO alarms, follow the manufacturer’s instructions for clearance requirements. Keep ceiling units at least 12 inches away from any adjoining wall. For wall installations placed higher up, keep the detector at least 6 inches below the ceiling junction to avoid stagnant air pockets where air circulation is restricted. Consult the instructions supplied with your exact model for terminal connections and hardware requirements.
Locations to Avoid During Carbon Monoxide Detector Installation
Placing a detector in the wrong spot can lead to nuisance alarms or complete sensor failure. Avoid these hazardous mounting areas:
- Turbulent Airflow Zones: Keep units at least 12 inches away from heating supply registers, return grilles, and ceiling fans.
- Uninsulated Exterior Walls: Cold drafts through uninsulated drywall can distort sensor readings. Choose interior partition walls when possible.
- High Humidity Areas: Steam from showers or dishwashers can damage electrochemical sensors. Keep alarms at least 10 feet away from bathrooms and saunas.
- Cooking Appliances: Maintain a minimum 5-foot clearance from gas ranges and ovens to prevent false triggers from normal cooking combustion.
- Attached Garages: Vehicle exhaust upon startup can trigger nuisance alarms and foul the sensor. Mount the detector inside the living space near the entryway door instead.
Step-by-Step Guide: How to Install Your Carbon Monoxide Alarm
Installing a standalone or hardwired carbon monoxide alarm is straightforward when you have the right tools prepared:
- Handheld drill and appropriately sized drill bits
- Drywall anchors and mounting screws
- Phillips-head screwdriver
- Wire strippers and voltage tester for hardwired models
- Fresh AA or 9V alkaline batteries
| Detector Type | Power Source | Best Application | Wiring Required |
|---|---|---|---|
| Battery-Powered | Alkaline or 10-year sealed lithium | Retrofitting older homes without existing wiring | None |
| Plug-In (with Battery Backup) | 120V AC wall outlet | Fast hallway and living room setups at knee or eye level | None |
| Hardwired Interconnected | 120V AC building power with battery backup | New construction and full-home unified alarm systems | 14–22 AWG wiring |
For hardwired alarms or units connected to a security or fire panel, follow the installation instructions for your exact model and have a qualified professional handle work that falls outside your experience.
Step 1: Selecting the Ideal Location on Each Floor
Map out your home’s layout. Identify central living areas, hallways leading directly to bedrooms, and the utility room footprint. Verify that the chosen wall is an interior wall located at least 15 feet away from the furnace door and free of obstructions such as drapes or furniture.
Step 2: Mounting the Base Plate and Connecting Power
Hold the mounting bracket against the wall at your chosen height and mark the screw holes with a pencil. Drill your pilot holes, tap in the drywall anchors, and secure the base plate using the provided screws.
If installing a battery-powered model, insert the fresh batteries into the compartment, observing correct polarity. If you are installing a hardwired unit, shut off the breaker at your main electrical panel, test the wires to ensure power is off, and follow the manufacturer’s wiring directions for the line, neutral, and interconnect terminals.
Step 3: Testing and Initializing the Unit
Attach the detector body onto the secured base plate with a clockwise twist until it clicks into place. Restore electrical power at the circuit breaker if applicable.
Press and hold the Test/Hush button according to your model’s instructions. The unit should flash its red LED and emit its designated test-alarm pattern. Once the test cycle finishes, confirm that the power status light settles into the normal steady or pulsing indicator described in the manufacturer instructions.
Testing, Maintenance, and When to Replace Your Alarms
Regular maintenance keeps your detection equipment responsive when emergencies occur:
- Weekly Testing: Press the test button once a week to verify electronic circuitry and horn output. The hush feature is designed for temporary muting during inspection and will not clear hazardous gas from your home.
- Monthly Cleaning: Lightly vacuum the exterior cover vents using a soft brush attachment to remove airborne dust, pet dander, and cobwebs. Never spray cleaning chemicals or aerosols directly onto the unit.
- Annual Battery Replacement: For units with replaceable batteries, install fresh alkaline cells once a year, or immediately when the low-battery chirp sounds.
- Sensor Lifespan Monitoring: The electrochemical sensors inside CO detectors naturally degrade. Most manufacturers specify a total service life of 6 to 10 years. When the detector reaches end-of-life, it may emit an intermittent amber-light flash or a distinctive chirp pattern that cannot be reset.
Pairing alarm checks with seasonal furnace care helps address both detection and equipment safety. These HVAC maintenance best practices for Philadelphia homeowners can help you prepare your heating system before winter.
Frequently Asked Questions About Carbon Monoxide Detector Installation
How many carbon monoxide detectors are required for a multi-story home?
You need a minimum of one detector on every level of the home, including the basement. In addition, you must install an alarm outside each separate sleeping area within a 10-foot radius of the bedroom doors. For example, a two-story home with a basement and bedrooms on both the second floor and main level requires at least three to four detectors for full coverage.
What should I do immediately if my carbon monoxide alarm sounds?
If your alarm emits its continuous four-beep emergency pattern, immediately move everyone, including pets, outdoors to fresh air. Do not stop to open windows or investigate the source. Call 911 or your local emergency responders from outside the home. Do not re-enter the house until emergency personnel have inspected the building with calibrated gas instruments and declared it safe.
How often do carbon monoxide detectors need full replacement?
Carbon monoxide alarms require complete replacement every 6 to 10 years depending on the manufacturer’s model and sensor specifications. Unlike smoke alarms, which can last up to a decade, electrochemical CO sensors lose chemical sensitivity over time. Check the manufacture date stamped on the back of the device and replace the entire unit when the end-of-life warning triggers.
Ensuring Home Safety and Furnace Efficiency in Cheltenham, PA
Proper alarm placement is your critical early-warning defense against combustion leaks. Protecting your household also requires keeping your heating equipment properly maintained, clean, and venting safely.
At W.F. Smith, Inc., our team brings 80 years of heating and indoor air quality experience to homeowners across Cheltenham and the greater Philadelphia region. Whether you need a comprehensive furnace safety inspection, heat exchanger evaluation, or heating-system tune-up, our certified technicians provide 24/7 emergency service backed by our 100% satisfaction guarantee. To schedule a heating service or system safety check, contact our professional furnace safety technicians today.