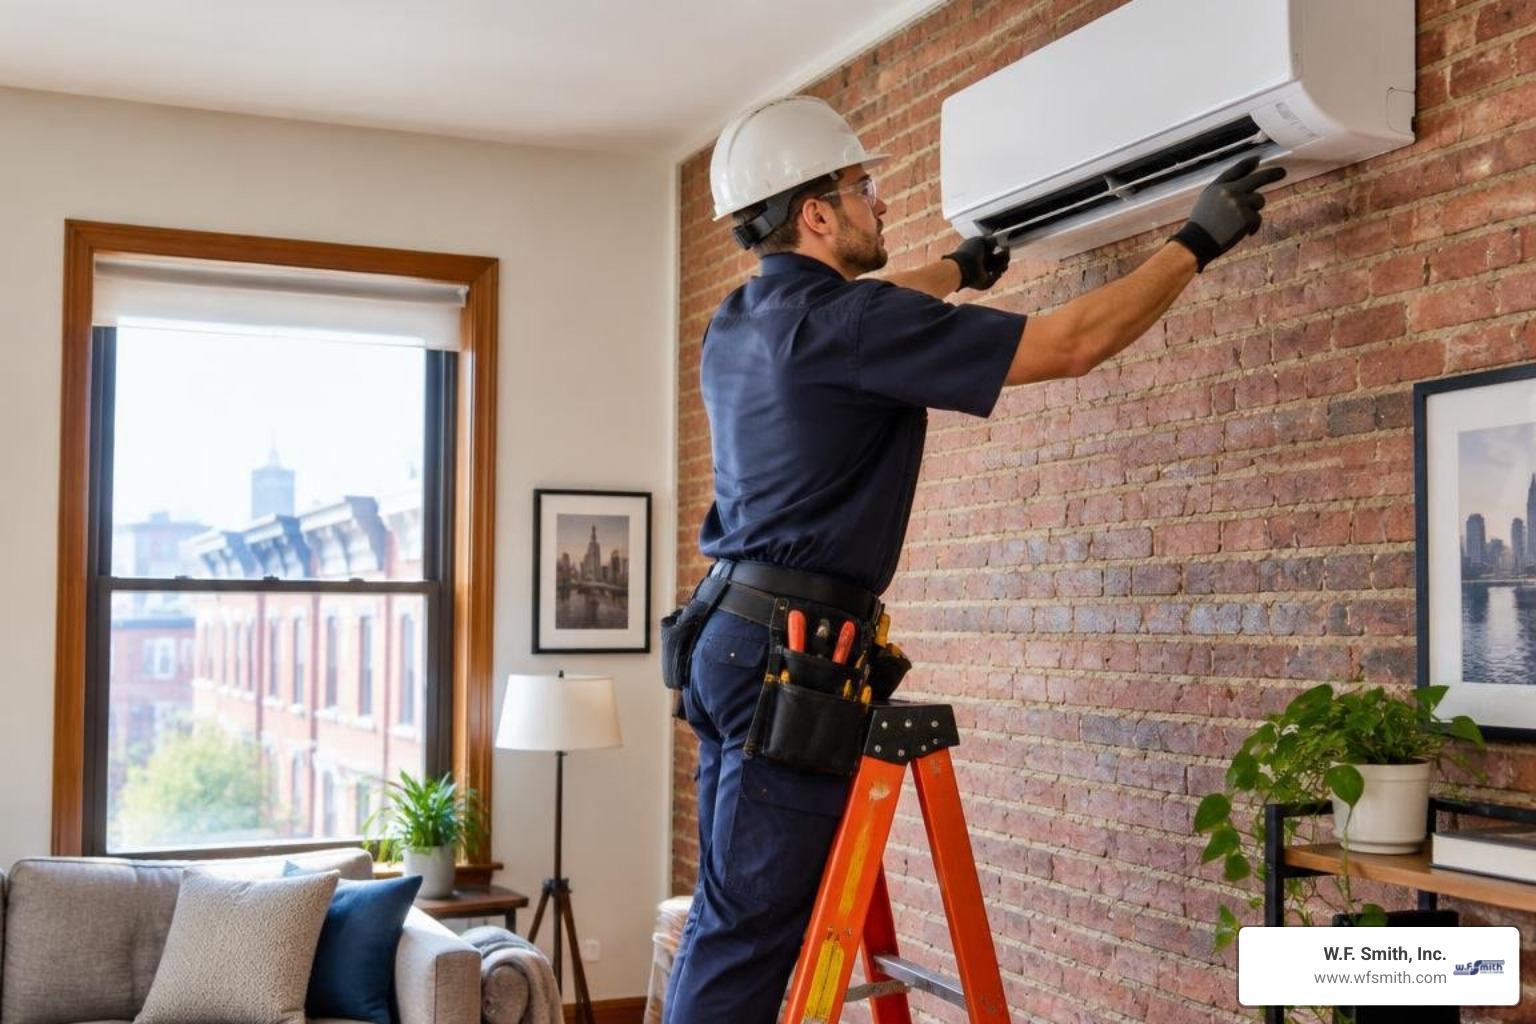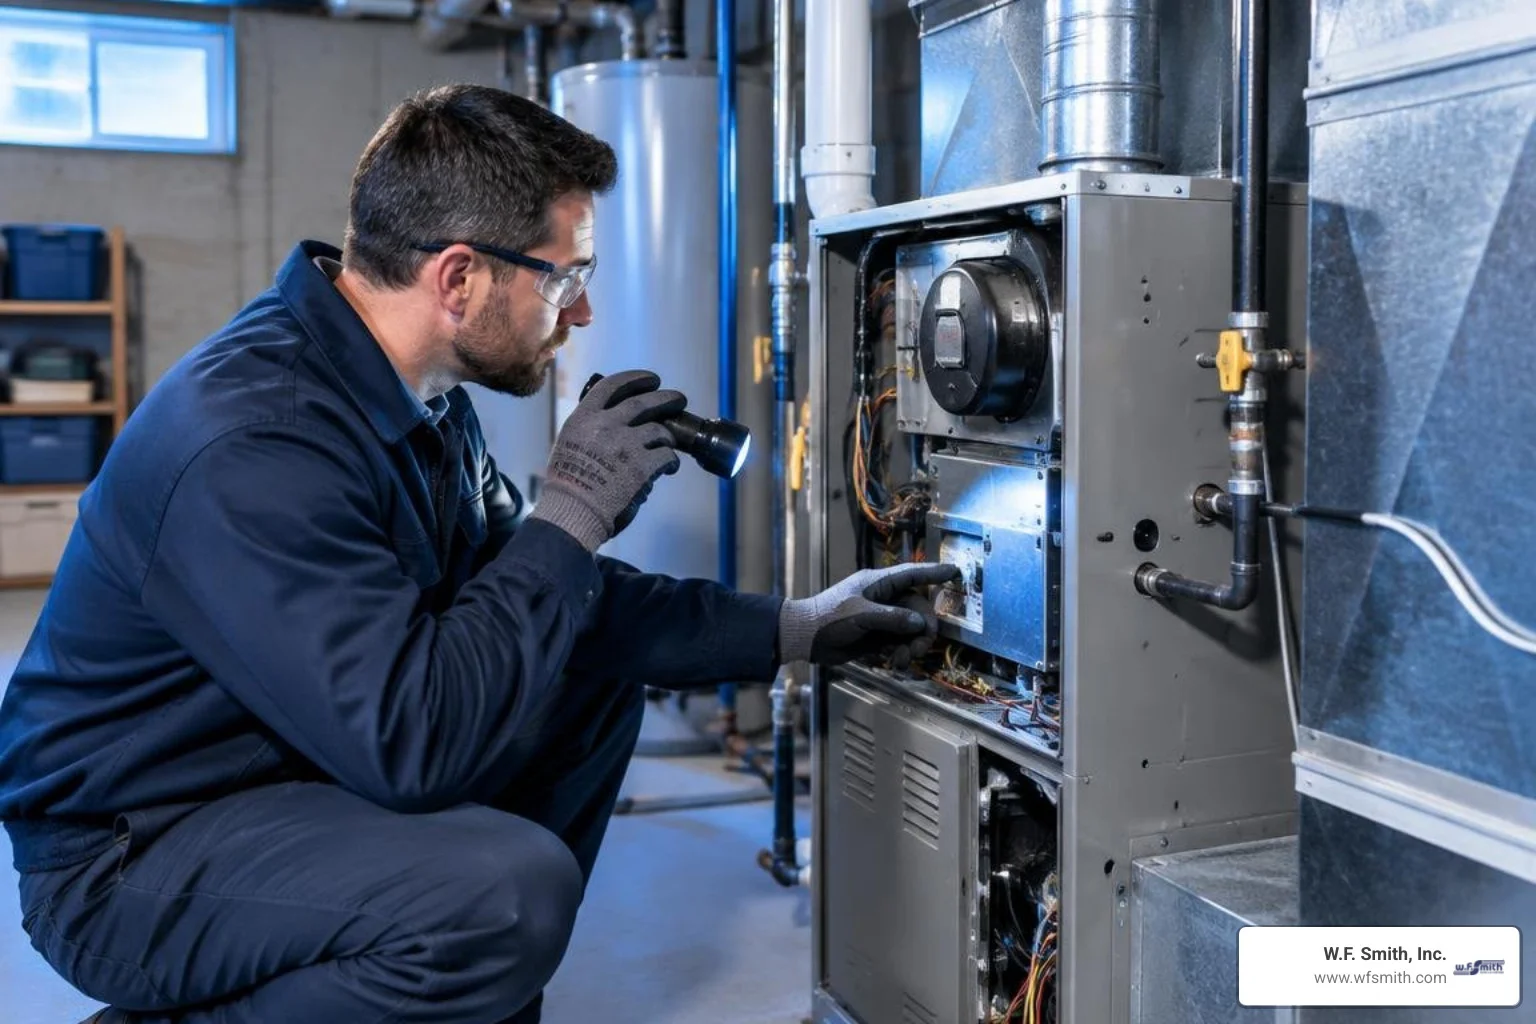
Evaluating Your System Before Adding Whole House Humidifier Units
Adding a whole-house humidifier involves mounting the unit chassis to your HVAC supply or return duct plenum, connecting a water supply and drain, and wiring the 24 VAC solenoid valve with a humidistat and furnace blower controls. This integrated setup introduces balanced moisture into your home’s forced-air stream during dry winter heating cycles.
When winter settles in, cold outdoor air holds very little moisture. As your heating system warms outdoor air that infiltrates your home, relative humidity (RH) can plummet below 20%. This dry environment pulls moisture from your skin, nasal passages, and wooden furnishings. Proper humidity can also improve comfort at a lower thermostat setting, as explained in our article on how humidity affects your HVAC system and home comfort.
Before shopping for hardware, monitor your living space for several days using an accurate digital hygrometer. If your home consistently registers below 30% RH during normal heating cycles, it may be a good candidate for professional indoor air quality services and active humidification.
For more ways to improve the air inside your home, our guide to factors that affect indoor air quality explains how humidity, filtration, ventilation, and household conditions work together.
Air Leakage Testing vs. Adding Whole House Humidifier Equipment
Before cutting into sheet metal, you need to understand where your dry air is coming from. Humidifiers add water to the air, but they cannot fix an unsealed building envelope. If your home has significant air infiltration around drafty windows, unsealed attic hatches, or leaky sill plates, cold outdoor air will continuously flush out the moisture your HVAC system works to add.
A professional energy audit featuring a blower-door test measures your home’s air exchange rate. If your home leaks like a sieve, investing in weatherstripping, air sealing, and attic insulation should come first. Once you seal major drafts, your home retains ambient moisture produced by cooking, showering, and breathing more effectively. If RH remains low after sealing drafts, adding whole-house humidifier equipment to your forced-air ductwork may be the right next step.
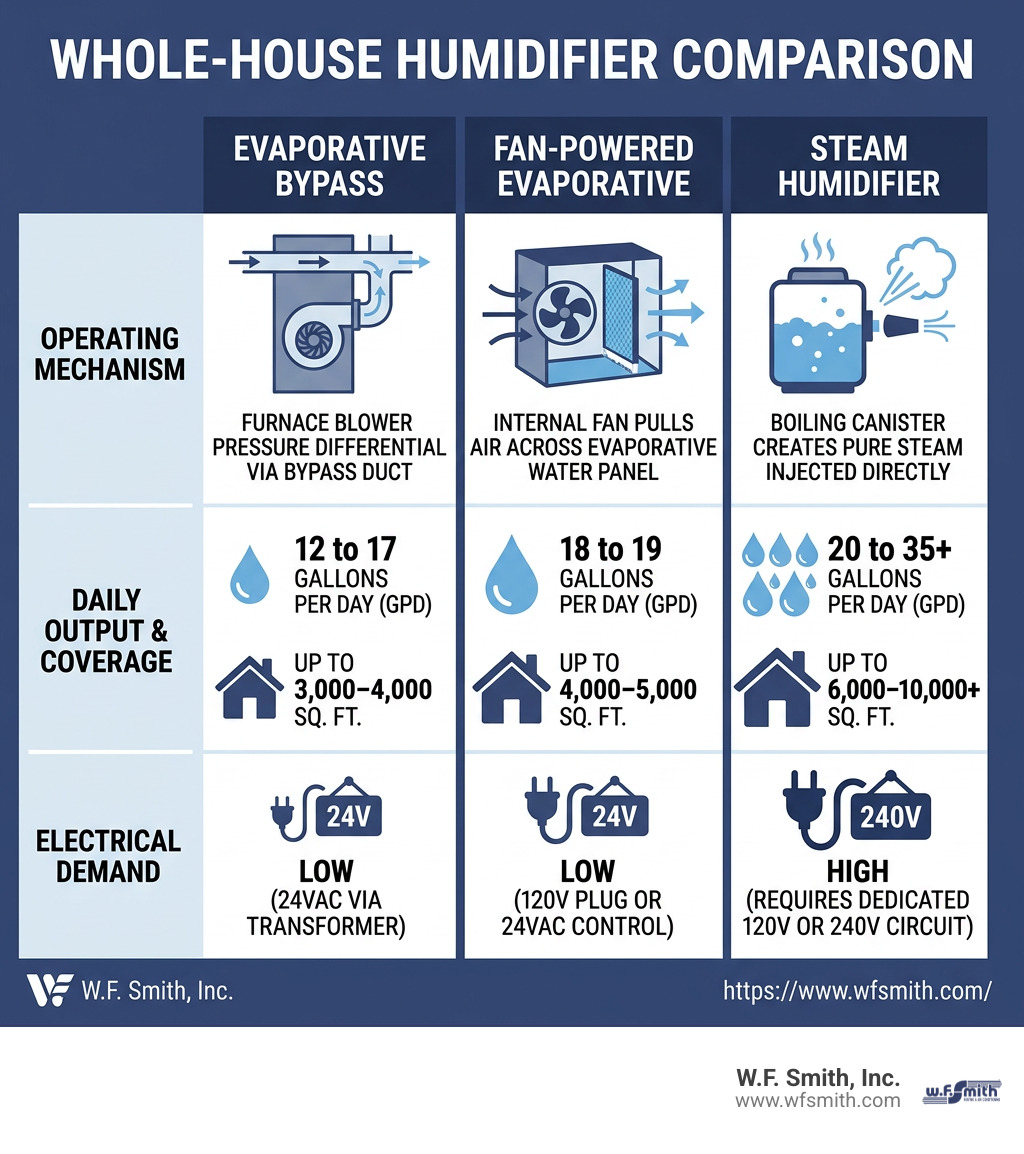
Bypass, Fan-Powered, and Steam Humidifier Comparison
Selecting the right humidification style depends on your home’s square footage, duct configuration, and furnace type.
| Feature / Specification | Evaporative Bypass | Fan-Powered Evaporative | Steam Humidifier |
|---|---|---|---|
| Operating Mechanism | Uses furnace blower pressure differential via a bypass duct | Internal fan pulls air across an evaporative water panel | Boiling canister creates steam injected directly into supply air |
| Typical Daily Output | 12 to 17 gallons per day (GPD) | 18 to 19 gallons per day (GPD) | 20 to 35+ gallons per day (GPD) |
| Square Footage Coverage | Up to 3,000–4,000 sq. ft. | Up to 4,000–5,000 sq. ft. | Up to 6,000–10,000+ sq. ft. |
| Electrical Demand | Low (24 VAC via transformer) | Low (120 V plug or 24 VAC control) | High (requires a dedicated 120 V or 240 V circuit) |
| Compatibility with High-Efficiency Furnaces | Moderate (shorter burn cycles may limit evaporation) | Excellent (internal fan maximizes moisture transfer) | Outstanding (produces steam on demand regardless of heat cycles) |
| Relative Equipment Cost | Generally the most budget-friendly option | Mid-range equipment investment | Typically the highest equipment investment |
| Installation Complexity | Moderate DIY | Moderate DIY | Professional recommended |
For standard split-system forced-air furnaces, fan-powered units are popular because they do not require a separate 6-inch bypass duct across the furnace cabinet. However, if your home exceeds 4,000 square feet or relies on a variable-speed heat pump with lower supply-plenum temperatures, a steam unit can provide higher moisture delivery.
Step-by-Step Installation: Mounting, Plumbing, and Wiring
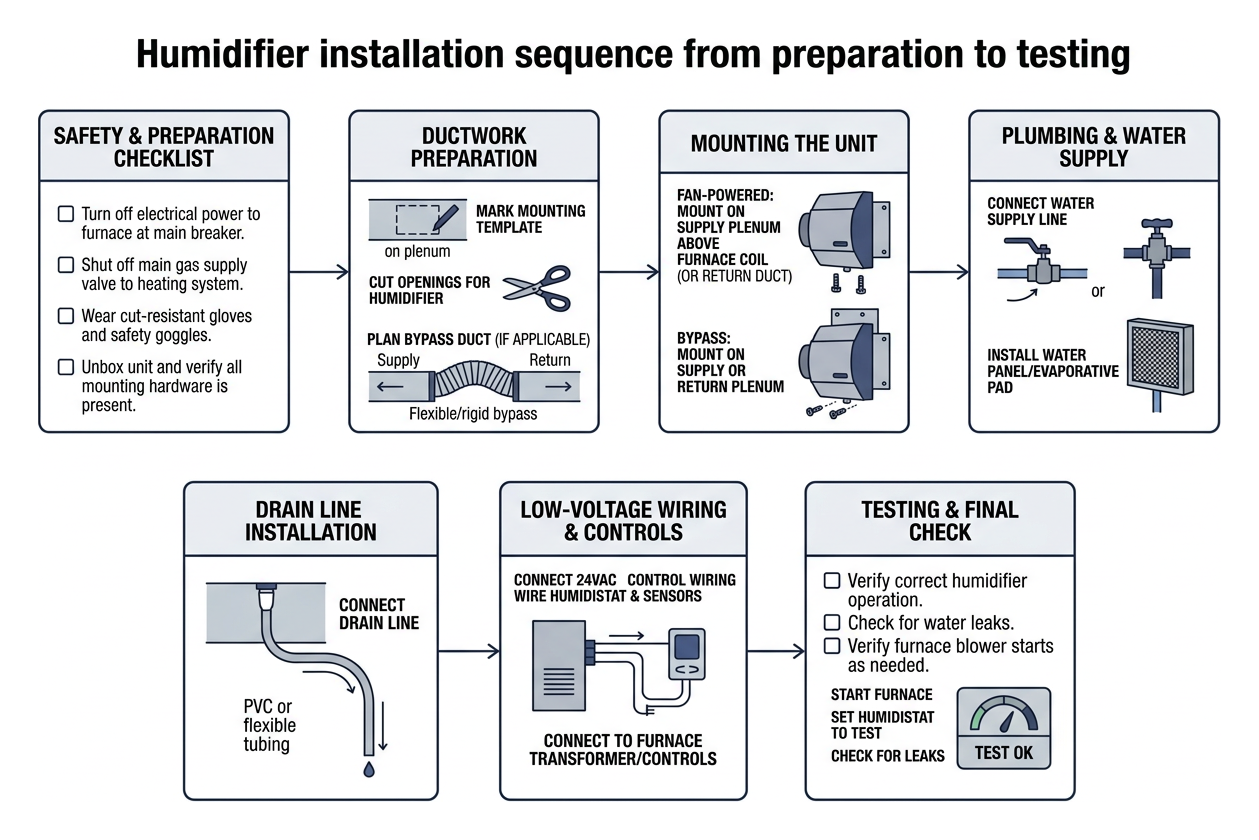
Installing a whole-house unit requires careful planning across sheet metal work, plumbing, and low-voltage electrical controls. Verify measurements twice, follow the manufacturer’s instructions for your specific model, and contact a qualified HVAC professional when the installation involves unfamiliar electrical work or complex duct modifications.
Ductwork Preparation and Mounting the Unit
The first mechanical task is mounting the humidifier housing. For fan-powered models, the unit is typically installed on the warm-air supply plenum directly above the furnace coil, though it can also be mounted on the cold-air return duct if space is restricted. Bypass units mount on either the supply or return, with a 6-inch flexible or rigid bypass duct bridging the two plenums.
- Position the template: Tape the manufacturer-supplied paper cutting template to the flat face of your chosen plenum. Ensure the template is level and leave at least 6 inches of clearance around the frame for water-panel access.
- Mark and trace: Use a permanent marker to trace the rectangular opening and mark the mounting holes.
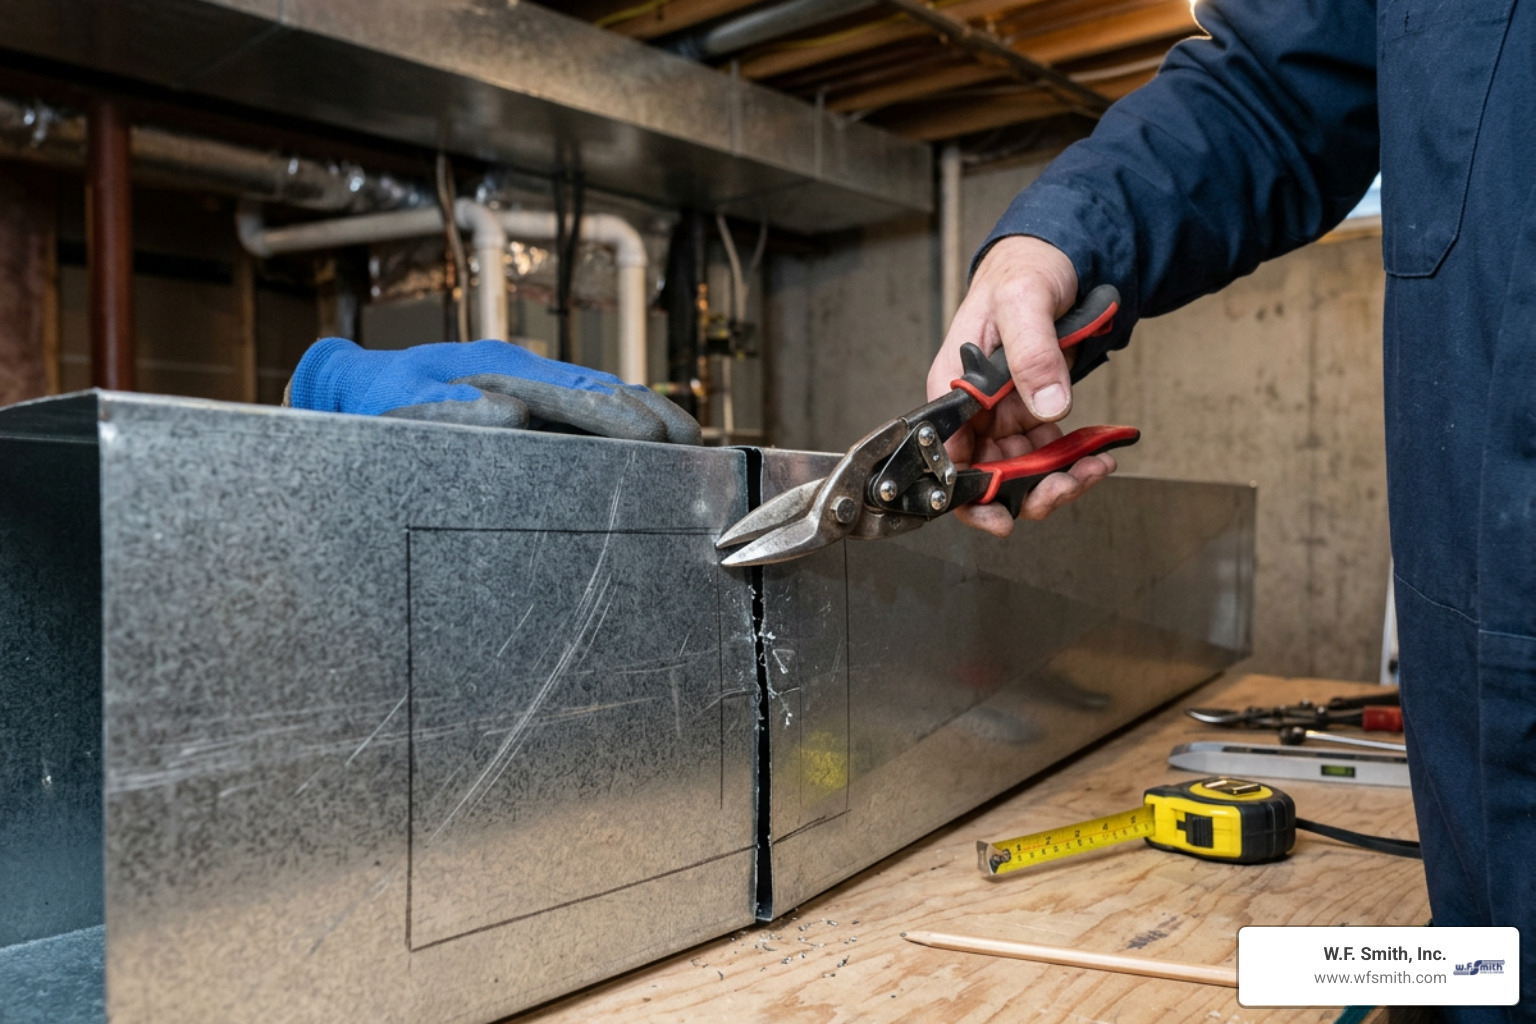
- Cut the sheet metal: Drill starter holes at the inside corners of the outline, then use appropriate sheet-metal shears to cut carefully along the traced line.
- Deburr and prepare: Sheet-metal edges are sharp, so remove burrs before mounting. When a plenum needs alteration to create a secure, airtight fit, professionally installed custom ductwork can provide a more reliable solution.
- Secure the frame: Place the humidifier base chassis into the opening. Drive self-tapping sheet-metal screws through the frame holes and seal the exterior perimeter with UL 181A-P listed foil HVAC tape.
Plumbing Water Lines and Condensate Drainage
Evaporative humidifiers require a controlled flow of water across the evaporative pad whenever the solenoid valve receives a call for humidity.
- Tap the water supply: Shut off the main water line or local isolation valve. Use a properly installed shutoff valve and compression fitting that comply with local plumbing requirements.
- Connect the feed line: Run approved tubing from the shutoff valve to the humidifier’s solenoid valve, following the manufacturer’s instructions and checking every connection for leaks.
- Route the drain line: Connect the drain tubing to the humidifier base and maintain a continuous downward slope to an approved drain, utility sink, or condensate pump. Avoid dips, loops, or uphill runs that can trap water and cause overflows.
Wiring the Humidistat and Furnace Control Board
Proper electrical wiring helps ensure the humidifier runs only when the humidistat calls for moisture and the furnace blower is moving air through the ducts. Running a humidifier with the blower off can create unwanted moisture inside the plenum.
- Mount the humidistat: Install the humidistat on the cold-air return duct upstream of the humidifier or on an interior wall near the main thermostat, according to the equipment instructions.
- Confirm the power source: Most humidifier solenoids operate on 24 VAC power. Furnace boards and accessory terminals vary, so confirm the voltage and wiring requirements before making any connection.
- Complete the control circuit: Use approved low-voltage wiring and follow the equipment wiring diagram so the humidistat, blower interlock, and solenoid operate as intended.
- Consider integrated controls: If your thermostat supports indoor-air-quality accessories, a qualified technician can determine whether it can control the humidifier through its accessory terminals.
- Verify operation: Restore power, set the furnace to heat mode, raise the humidistat, and confirm that water flows over the pad and drains without leaks or splashing.
For safe setup and dependable operation, W.F. Smith’s HVAC team can evaluate your furnace controls, duct layout, and humidity needs before installation.
Installation Costs, Pitfalls, and Long-Term Maintenance
Adding a whole-house humidification system can be a useful part of winter furnace preparation. To protect your equipment and get the best return on the upgrade, avoid common setup mistakes and follow a basic seasonal maintenance schedule.
When you are comparing larger heating and comfort upgrades, our article on budgeting for new HVAC upgrades can help you plan for equipment, labor, and long-term maintenance costs.
Key Mistakes to Avoid When Adding Whole House Humidifier Hardware
Even handy homeowners can run into trouble if they overlook fundamental HVAC principles. Avoid these common installation traps:
- Installing on the furnace cabinet: Never mount the humidifier directly to the furnace jacket or air-handler housing. Attach it to the supply or return sheet-metal plenum instead.
- Insufficient drain slope: Allowing the drain line to sag or rise creates stagnant water pools, which can promote algae growth and cause water to back up near the furnace.
- Incorrect voltage connections: Connecting a 24 V solenoid valve directly to a 120 V furnace-board terminal can damage the solenoid and furnace controls. Verify the required voltage before wiring.
- Leaving the bypass damper open year-round: Bypass humidifiers have a winter/summer damper. If it remains open during summer, conditioned AC air can short-cycle back into the return duct and reduce cooling efficiency.
- Over-humidifying during freezing temperatures: Leaving the humidistat at 45% when outdoor temperatures drop below 10°F can cause window condensation and moisture problems in exterior walls.
DIY vs. Professional Installation Costs and System Maintenance
The total cost of a whole-house humidifier depends on the equipment type, your home’s duct layout, plumbing and electrical needs, local permit requirements, and the level of installation support required. Basic evaporative systems usually involve a lower upfront investment than steam models, while advanced systems and complex retrofits require more planning and labor.
A straightforward installation may be manageable for experienced homeowners with the proper sheet-metal tools, plumbing materials, and manufacturer guidance. For high-capacity steam humidifiers, complex electrical routing, or major duct modifications, professional installation by a qualified HVAC contractor is recommended. Request a detailed estimate based on your home’s existing system and humidity needs so you can compare equipment, labor, warranty coverage, and ongoing maintenance requirements.
Frequently Asked Questions About Whole House Humidifiers
What is the ideal indoor humidity level during winter?
For most residential structures, an indoor relative humidity of 35% to 40% provides the best balance between human respiratory comfort, static electricity control, and structural wood preservation.
However, your setting should dynamically decrease as outdoor temperatures drop. When outdoor conditions plunge below freezing, indoor moisture condenses against cold window panes. Follow these guidelines:
- Above 40°F Outdoor Temp: Maintain up to 40–45% RH.
- 20°F to 40°F Outdoor Temp: Maintain 35% RH.
- 0°F to 20°F Outdoor Temp: Maintain 25–30% RH.
- Below 0°F Outdoor Temp: Reduce humidistat to 15–20% RH to prevent frost buildup on windows and inside exterior wall insulation.
Can a whole house humidifier cause mold in ductwork?
When properly installed, wired, and maintained, a whole-house humidifier will not cause mold growth. Flow-through evaporative humidifiers do not hold standing water; excess water rinses away down the drain, carrying dissolved minerals with it.
Mold requires two main ingredients to proliferate: standing moisture and an organic food source (like accumulated dust). Mold issues can occur if an installer wires the unit incorrectly, causing the solenoid to feed water when the blower is off, or if ductwork has substantial air leaks and stagnant water pooling. To learn more about maintaining clean air channels, review our guide on preventing mold growth inside HVAC systems.
How often do humidifier pads and filters need replacement?
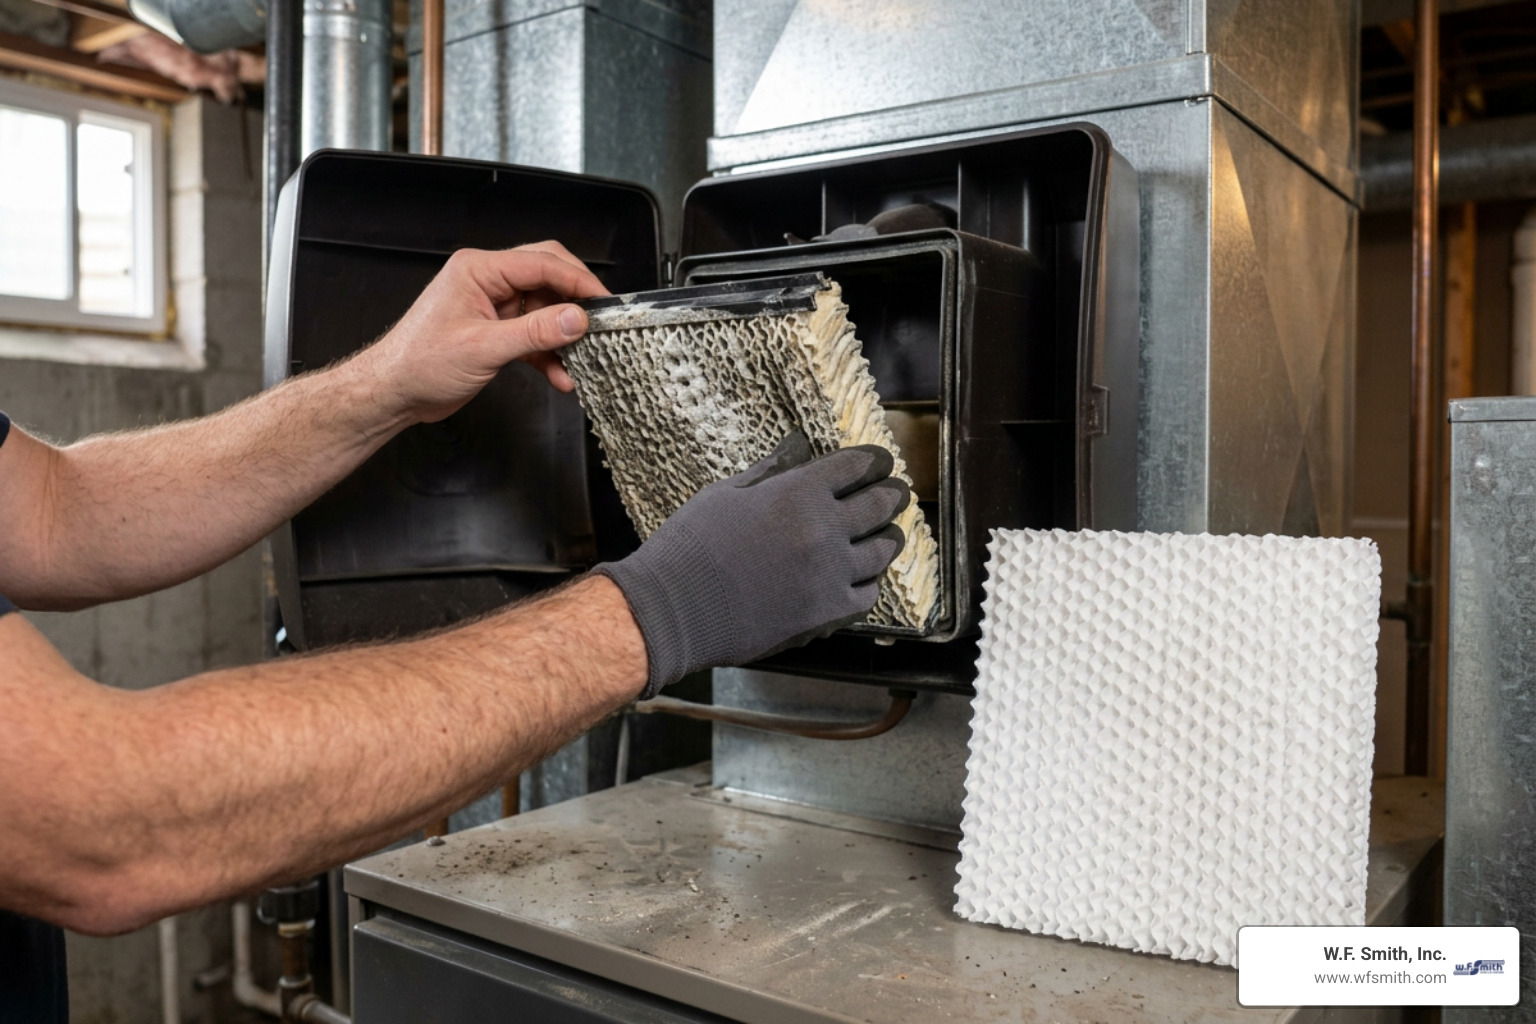
Evaporative water panels (also called humidifier pads or wicks) should be replaced at least once per heating season, typically in early autumn. In regions with exceptionally hard water containing heavy calcium and magnesium deposits, you may need to replace the pad twice per season.
Over time, mineral scale clogs the honeycomb lattice of the pad, severely reducing airflow and stopping water from evaporating. Steam humidifiers do not use paper pads; instead, their internal plastic steam canister is replaced annually or every two seasons depending on water hardness.
Conclusion
Achieving balanced indoor humidity can transform your home during the cold winter months. By reducing static electricity, easing dry skin and sinus discomfort, protecting hardwood floors, and helping rooms feel comfortable at lower thermostat settings, a whole-house humidifier can improve comfort throughout the home.
Whether you plan a DIY installation for a straightforward bypass unit or need an advanced steam system with custom duct routing and multi-zone controls, secure mounting, properly routed water lines, and correctly configured low-voltage controls are essential for dependable operation.
If you would like an expert assessment or professional installation, contact our indoor air quality specialists. W.F. Smith’s experienced team serves homeowners throughout the Philadelphia area with practical HVAC and indoor-air-quality solutions.