- 24/7 Emergency HVAC Repair
- Financing Available
- We Accept All Major Credit Cards

AC Evaporator Coil Leaks: Causes and How To Fix Them
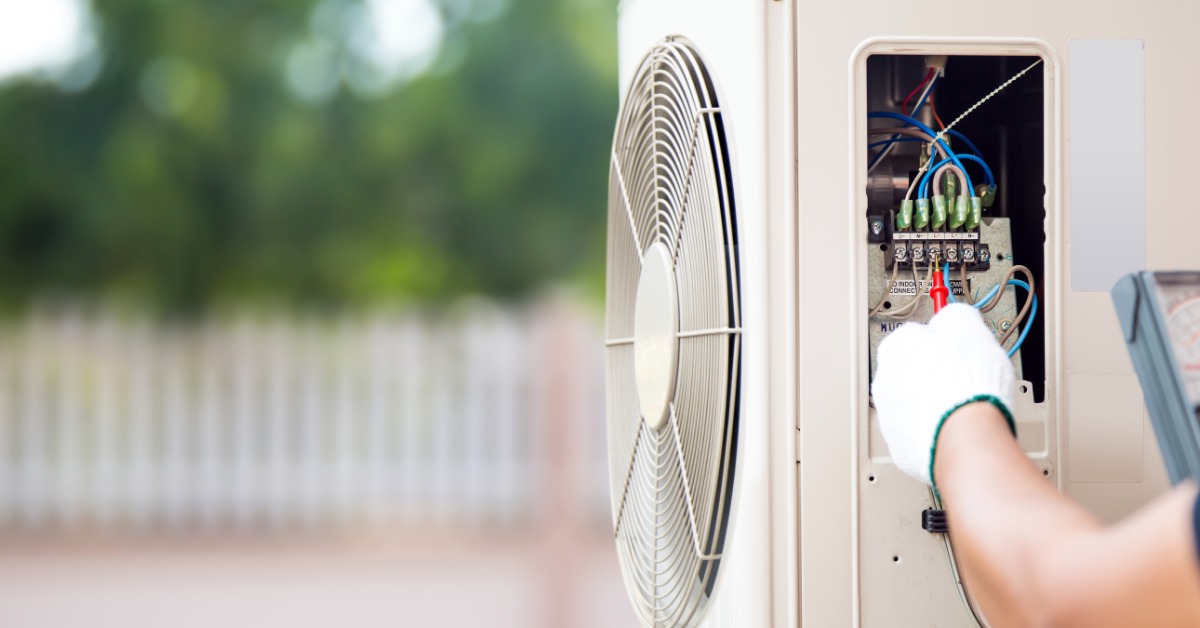
A struggling air conditioner often sends mixed signals. The system might run longer or leave ice around the indoor unit. These symptoms sometimes point to restricted airflow, but they also appear when refrigerant escapes through a damaged evaporator coil. An experienced HVAC technician must determine which problem affects the system before recommending a repair.
Explore the causes of AC evaporator coil leaks and how to fix them. By learning the common causes, you can make better informed decisions about your system’s repair.
What the Evaporator Coil Does
The evaporator coil sits inside the air handler or near the furnace. Refrigerant flows through the coil and absorbs heat from the indoor air. The blower then sends cooled air through the ductwork and into the home. The coil also removes moisture as warm air passes across its cold surface.
A refrigerant leak reduces the coil’s ability to absorb heat. The system runs longer as indoor temperatures remain above the thermostat setting. Lower refrigerant pressure also allows the coil to become unusually cold, which sometimes creates ice along the tubing. Continued operation under these conditions places added stress on the compressor and raises energy use.
Refrigerant Leak or Water Leak?
Homeowners often use the phrase “coil leak” after finding water near the indoor equipment. Water does not always mean the coil tubing has failed. The evaporator coil naturally produces condensation during normal cooling, and that moisture should flow into the drain pan before leaving through the condensate line.
A dirty filter restricts airflow and allows ice to form on the coil. When the ice melts, water might overflow the drain pan. A blocked condensate line or cracked pan also creates puddles around the air handler.
Refrigerant leaks require a different response. Refrigerant travels through sealed tubing and should not disappear during normal operation. Adding refrigerant without finding the leak offers only temporary relief. The system will lose cooling capacity again once the new charge escapes.
Corrosion and Indoor Air Chemistry
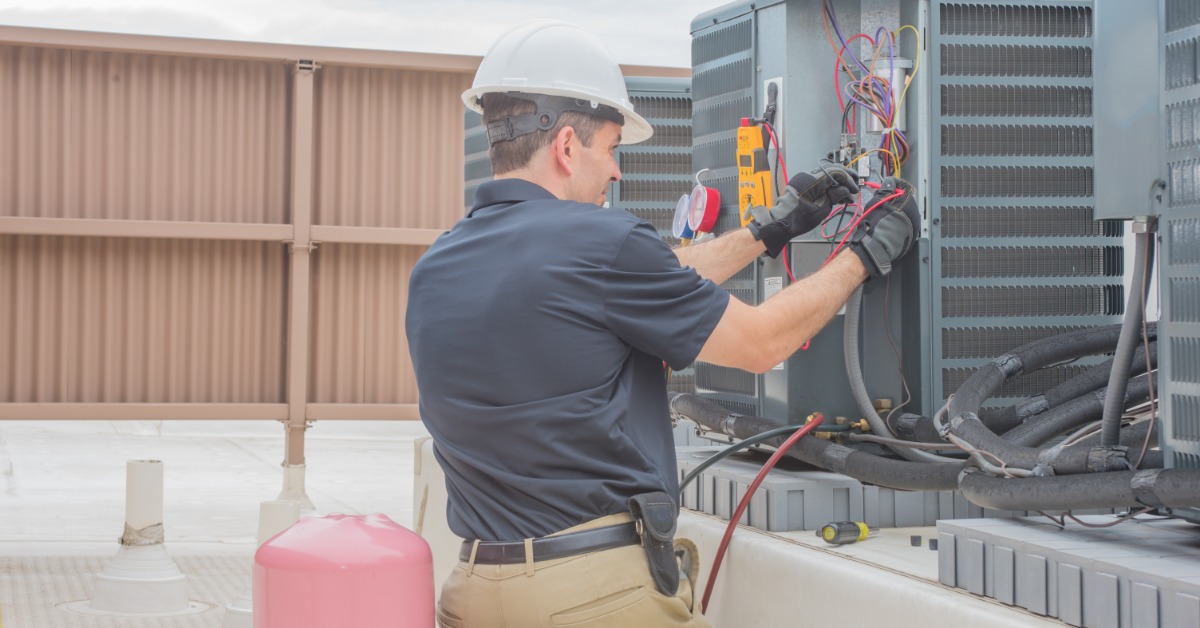
Corrosion ranks among the leading causes of coil failure. Moisture stays near the coil whenever the air conditioner removes humidity from the home. Certain airborne chemicals from household products might also contribute to corrosion on vulnerable metal surfaces.
Small corrosion pits eventually create openings in the tubing. These openings often start too small for a homeowner to see. Refrigerant then escapes slowly, and the system loses performance over several weeks or months.
Warning Signs of a Leaking Evaporator Coil
A slow refrigerant leak often develops without an obvious puddle or visible crack. Homeowners usually notice changes in cooling performance first. Pay attention when several symptoms appear together rather than assuming one sign proves the coil has failed.
Common warning signs include:
- Warm or weak airflow from the vents
- Longer cooling cycles with little temperature change
- Ice on the evaporator coil or refrigerant lines
- Water near the indoor unit after ice melts
- Higher electric bills without a clear reason
- Hissing or bubbling sounds near the coil
- Frequent requests to add refrigerant
- Uneven temperatures throughout the home
Restricted airflow sometimes causes the ice, while low refrigerant also lowers coil pressure and promotes freezing. We recommend shutting down a frozen system to reduce the chance of compressor damage.
How Technicians Confirm a Coil Leak
A technician should inspect the full cooling system before blaming the evaporator coil. Low refrigerant readings show that the system has lost charge, but they do not reveal the leak location.
Visual and Electronic Leak Detection
The inspection usually starts with visible tubing and accessible coil surfaces. Oil residue sometimes collects near a refrigerant leak because refrigerant carries compressor oil through the system. Damaged connections or darkened areas might also guide the technician toward the problem.
An electronic leak detector helps locate refrigerant escaping from a small opening. The technician moves the sensor around likely leak points and watches for a response. A confirmed signal near the evaporator coil narrows the diagnosis, though the technician might perform another test before recommending replacement.
Pressure Testing and Verification
When needed, the technician may isolate part of the system and perform a pressure test. An approved gas is introduced, and the system is monitored for pressure loss. A soap solution can reveal the leak once pressure reaches the damaged section. Accurate testing takes time and attention, which is why proper procedures help ensure the repair addresses the real issue rather than a guess.
When a Coil Repair Makes Sense
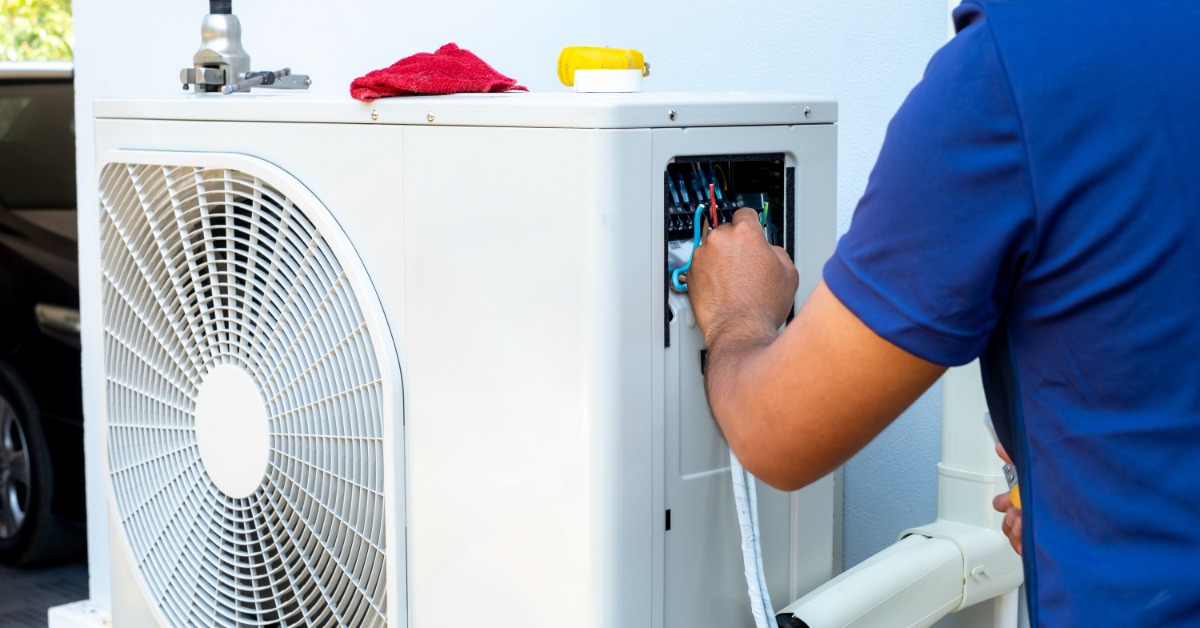
Repairing a coil can work when the damage is limited and easy to reach. A technician might seal a small opening, replace a fitting, or correct a faulty connection. Afterward, the system must be tested according to specifications.
This approach works best when the coil is still in good condition overall. A newer system with a single problem area often qualifies for a repair. Warranty coverage can also influence the decision.
When Coil Replacement Offers Better Value
Replacement often makes more sense when the coil has aged or shows extensive wear. A heavily corroded coil may develop another leak soon after a repair. Repeated service calls and refrigerant charges can also add up quickly.
The technician should also consider how the coil matches the outdoor unit. The replacement must align with the system’s specifications to maintain proper performance. Sometimes a full system replacement is worth discussing. If both major components are older, replacing only the coil may not provide long-term value.
What Happens During Coil Replacement?
The process begins with recovering any remaining refrigerant using approved equipment. Regulations require certified technicians to handle these materials safely.
Next, the technician removes the damaged coil and prepares the cabinet for the new one. The replacement must fit properly and match the existing system. Nearby components, such as the drain pan and refrigerant lines, are also inspected.
Once installed, the system undergoes pressure testing. The technician then pulls a vacuum to remove air and moisture before adding the correct refrigerant charge.
When To Call W.F. Smith Inc.
Call for service if your system freezes or needs frequent refrigerant additions. If you see heavy ice on the coil or lines, turn the unit off to prevent further damage. When dealing with AC evaporator coil leaks, understanding the causes and how to fix them allows you to plan for a lasting and valuable repair.
Need AC installations or repairs? Contact W.F. Smith Inc. for a professional evaluation if your air conditioner shows signs of refrigerant loss or repeated freezing. Our team will inspect the equipment and find the source of the refrigerant loss. Get clear guidance on the repair path that offers the best long-term value for your home today.

W.F. Smith was great. They worked very professionally and neatly. They were extremely knowledgeable about the equipment and all specific HVAC practices. Would recommend them to the world!