What Size Air Conditioner Is Right for My Home?

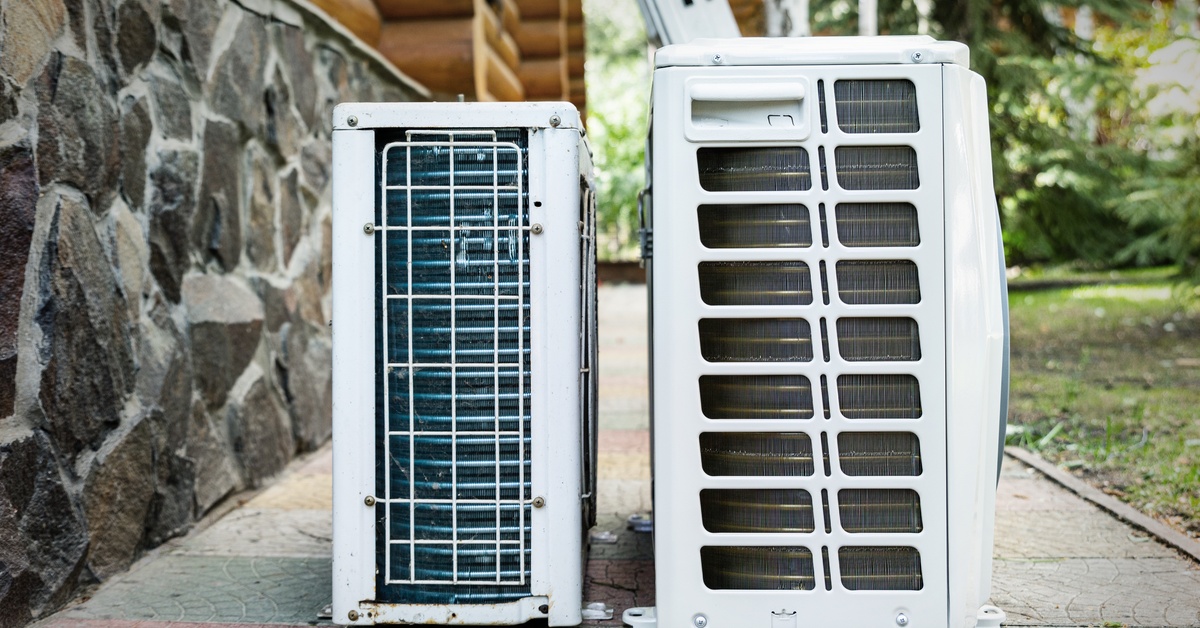
Two white air conditioners sit on the pavement outside of a wooden log home. The right is larger than the left.

Choosing the right air conditioner size for your home determines your cooling system’s comfort and efficiency. With many factors influencing this choice, from room dimensions and insulation to local climate and energy efficiency, you must understand what’s at stake.

Learn about the factors that determine what size air conditioner is right for your home and find a cooling system that performs optimally throughout the hottest months.

The Importance of Choosing the Right AC Size

When shopping for ACs, you must get the size just right. An air conditioner that’s too small will struggle to cool your space, leading to excessive energy use and frequent breakdowns. Conversely, an oversized unit will cycle on and off too quickly, failing to adequately dehumidify the air and wasting energy.

Both scenarios result in higher utility bills and reduced system lifespan. Understanding the factors that influence the proper size of your AC unit ensures you achieve optimal cooling performance and cost savings over time.

Understanding BTUs

British thermal units (BTUs) measure an air conditioner’s cooling capacity, indicating how much heat it removes from a space per hour. The higher the BTU rating, the more powerful the air conditioner. Choosing the right BTU capacity ensures effective cooling and energy efficiency.

A unit with too few BTUs will work harder to cool a room, while one with high BTUs will waste energy and lead to uneven cooling. Typically, larger air conditioners have a higher BTU rating, making it an important factor to consider when seeking a unit of the right size. Consider BTUs to make an informed choice about cooling needs and ensure your air conditioner performs at its best.
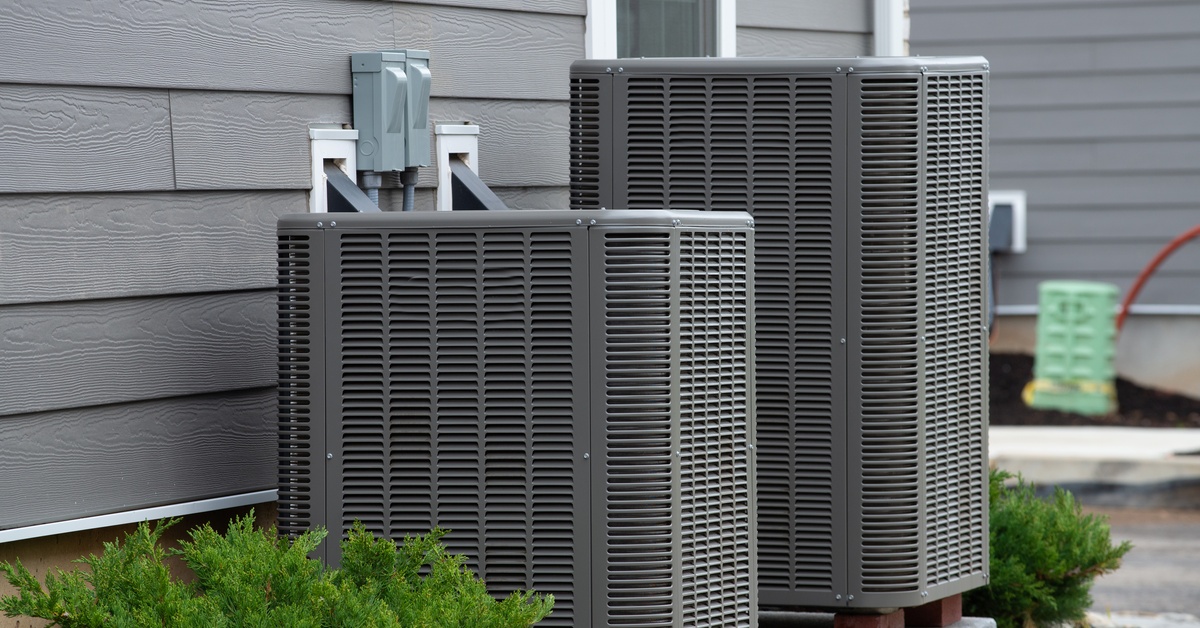
Two gray air conditioner units are placed next to each other outside a gray home. The right unit is larger than the left.

Factors Influencing Air Conditioner Size

Several factors determine the appropriate size of an air conditioner for your home, including room size, insulation, the number of windows, and ceiling height. Consider each to avoid inadequate cooling and excessive energy consumption.

Room Size

Measure the square footage of your space to choose the right air conditioner size. Find the length and width of each room, then multiply those numbers to determine the area in square feet. For oddly shaped or open-concept spaces, break the area into smaller sections and calculate each separately, then add them together for the total square footage. Once you have the square footage, consult BTU guidelines to match your cooling needs.

Room Type

The type of room affects the air conditioner size you need. For instance, the flooring in some rooms determines cold air retention and how large and efficient your unit must be. Carpeted rooms, such as the living room or bedroom, retain temperatures by preventing cold air from escaping through floorboards.

Rooms with more windows, such as the living room or sunroom, are prone to heat, so a larger unit with higher BTUs can improve efficiency. Consider the rooms in your home and their features to find the best air conditioner size.

Ceiling Height

Higher ceilings create more space for air to circulate, so they often require additional cooling capacity and a larger unit to maintain a comfortable temperature. In contrast, lower ceilings may allow quicker cooling with less BTU capacity.

To account for varying ceiling heights, adjust the BTU requirements by adding 10 percent more BTUs for ceilings above eight feet.

Climate

Your local climate is pivotal in determining your home’s air conditioner size. Regions with hotter, humid summers require larger units with higher BTU ratings to combat outdoor temperatures and efficiently maintain indoor comfort.

Conversely, cooler climates may need smaller, less powerful units, as the ambient temperature places less demand on the cooling system. This consideration ensures your air conditioner handles peak heat periods without overworking or underperforming.

Insulation

Insulation quality impacts your air conditioner’s efficiency by determining how well your home retains cool air. Proper insulation maintains a stable indoor temperature and reduces your cooling system’s workload. Further, smaller units will have a greater effect in a room.

Evaluate your home’s insulation, particularly the attic, walls, and windows, where leaks are more likely to occur. Enhanced insulation leads to more effective cooling, allowing you to choose a unit with the appropriate size and BTU capacity.

Windows and Sun Exposure

Windows and sun exposure significantly influence your home’s cooling requirements. Consider the size of the windows to determine what size air conditioner is right for your home.

Large, sun-facing windows increase indoor temperatures, necessitating additional cooling power from larger units with a higher BTU to maintain comfort. Consider the type of glass your windows use and how much solar radiation enters the home to determine the unit’s size and cooling efficiency.

Additionally, installing energy-efficient windows, such as low-E windows, further enhances temperature control by diminishing solar radiation that enters via sunrays. Use treatments like blinds, shades, or reflective films to minimize heat gain and reduce air conditioner strain.

Common Mistakes in Choosing Air Conditioner Size

Choosing the wrong air conditioner size can cause reduced comfort, higher energy bills, and decreased system lifespan. Ignoring special factors such as furniture and average occupancy also leads to poor decision-making for air conditioning units.

The larger objects in the room and the people who frequently inhabit it affect how efficiently the room cools down. A small unit may not be effective in a living room with a sectional and at least five people spending most of the day sitting around. The body heat and decreased open space cause less air to circulate, making cooling more challenging for the unit.

Precision and accuracy are important in choosing an air conditioner size, and deciding without careful consideration leads to negative consequences.
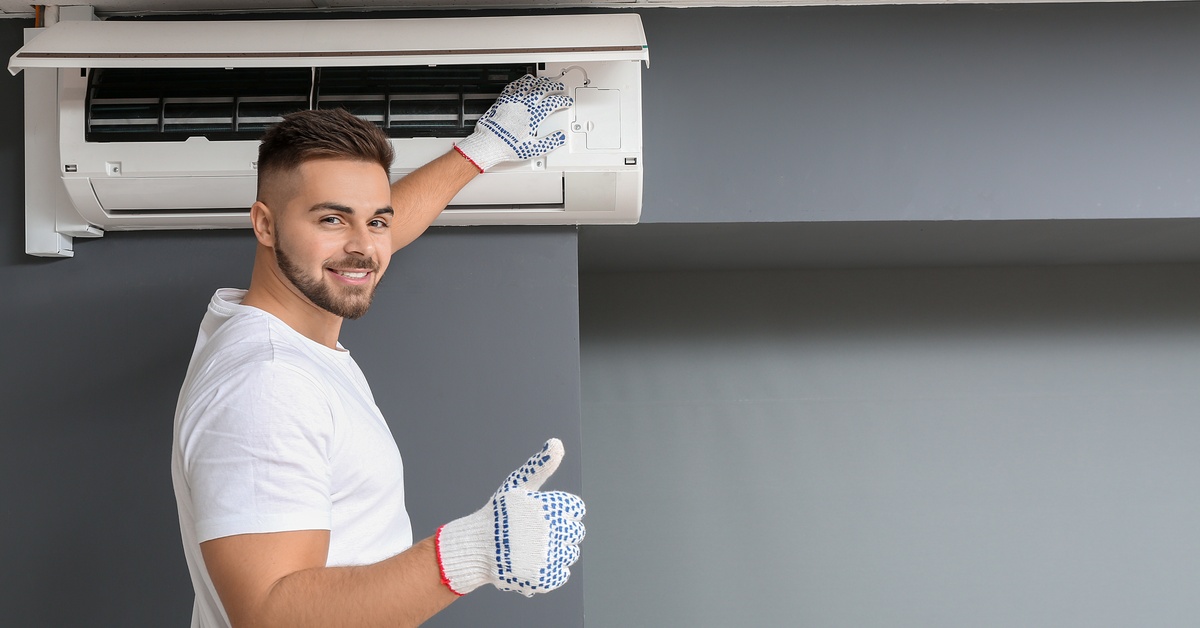
A man in a white shirt has one gloved hand on a ductless AC unit while turning back and giving a thumbs up to the camera.

When To Seek Expert Advice

While homeowners often determine air conditioner size through careful calculations, sometimes, a professional assessment is best. The AC installation contractors at W.F. Smith bring extensive knowledge and experience, offering insights into your home’s unique cooling needs.

A professional evaluation identifies overlooked factors and accurately matches your air conditioner and living space. Consulting with an expert provides peace of mind, knowing your investment will deliver maximum comfort and efficiency. Don’t hesitate to seek our professional advice for the best results.

The right air conditioner creates a comfortable, cost-effective, and environmentally responsible living environment that meets your needs now and in the future. Consider the above factors to make an informed decision. Take the time to evaluate your options and consult with professionals if needed.
What Is Furnace Short Cycling, and How Can You Fix It?

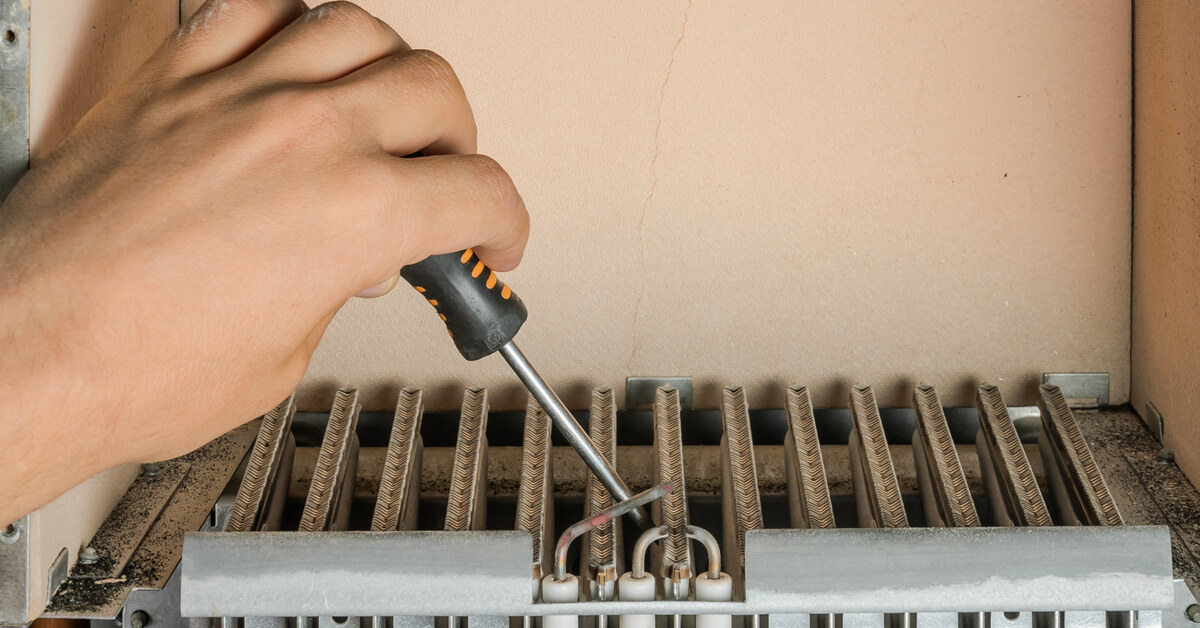
A person uses a screwdriver with a black and orange handle to pick at the space between the rungs of a furnace's interior.

A furnace that keeps turning on and off in short bursts might feel like a minor annoyance, but it’s a signal that something is wrong. This phenomenon, known as short cycling, affects your furnace’s performance, reducing your home’s comfort and energy efficiency.

If left unaddressed, short cycling could lead to more serious—and costly—issues. Use this guide to understand what furnace short cycling is and how you can fix it to maintain a cozy and energy-efficient home.

What Is Short Cycling?

Short cycling in a furnace occurs when the system turns on and off in rapid or frequent cycles without completing a full heating session. This typically happens when the furnace overheats and shuts down prematurely to protect itself or when there is an issue with the thermostat or airflow. Irregular operation prevents the furnace from heating your home effectively and leads to unnecessary wear and tear and eventual repairs.

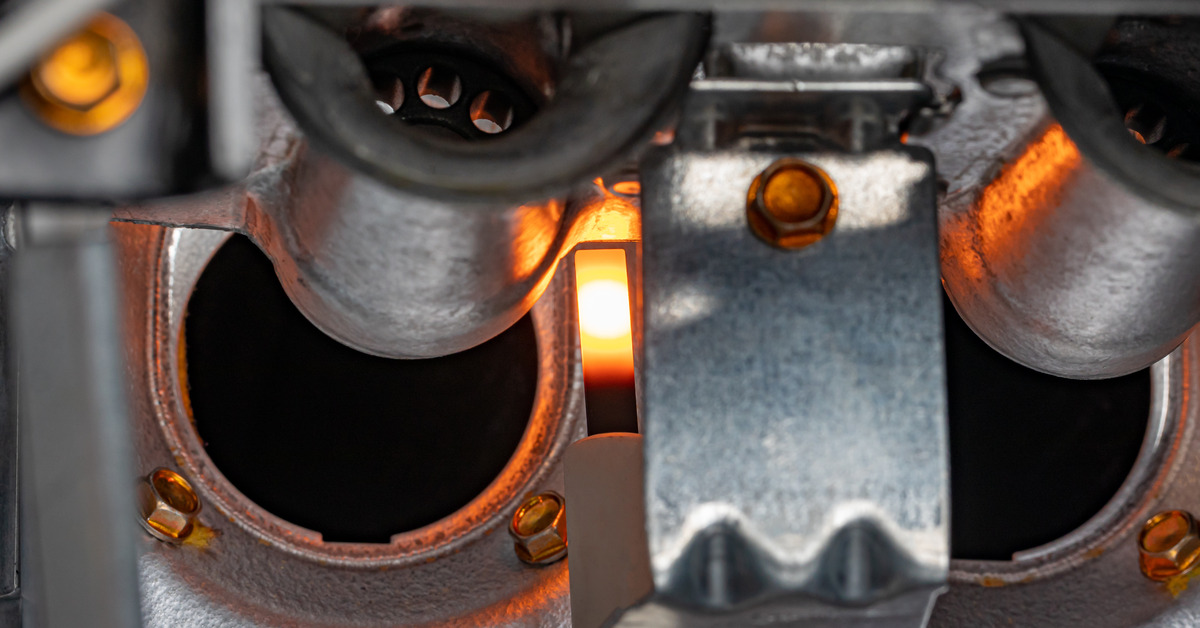
The parts of a furnace's interior as the gas flame glows a bright orange and reflects on the metal components.

How Does a Furnace Function?

To understand short cycling, it’s helpful to first know how a furnace typically operates. When your thermostat detects that the indoor temperature has dropped below the set point, it signals the furnace to ignite and warm the air.

The heating cycle continues until the home reaches the desired temperature, after which the furnace turns off. This process repeats as necessary, with each cycle lasting from 10 to 15 minutes under normal conditions. A properly functioning furnace ensures consistent, even heat without frequent interruptions.

Recognizing the Signs of Short Cycling

Short cycling is characterized by the furnace turning on and off much more frequently than it should. You might notice your furnace running for just a few minutes at a time before shutting down, only to start back up again a short while later.

Irregular cycling often results in inconsistent room temperatures, with some areas feeling too warm while others remain cool. It also makes your home feel less comfortable overall, as the constant stopping and starting prevents your furnace from maintaining a stable environment.

The Impact of Short-Cycling on Your Home

Short cycling impacts more than your home’s temperature. It affects your finances and how much you spend on heating. Since the furnace is constantly powering on and off, it uses more energy, causing your utility bills to rise. You’re essentially paying for heat that your system cannot deliver efficiently. Worse yet, short cycling creates uneven heating, leaving certain rooms or zones underheated. These inefficiencies make your home feel less inviting during the colder months and wastes energy.

How Short Cycling Affects Your Furnace System

The effects of short cycling place undue strain on your furnace components, accelerating wear and tear. Systems that cycle too often are more prone to breakdowns and may require frequent repairs. These breakdowns are detrimental to safety and comfort in places like Philadelphia, where freezing temperatures threaten homes with poor heat regulation.

Over time, short cycling also shortens the overall lifespan of your furnace, forcing you to replace it sooner than expected. A furnace is a significant investment, and resolving short cycling issues protects that investment.

What Causes Furnace Short-Cycling?

Short cycling occurs for a variety of reasons, and identifying the root cause is essential to find a solution. While some causes may be simple to address on your own, others may require professional assistance. The following sections will break down common culprits of furnace short cycling.

Dirty Air Filters

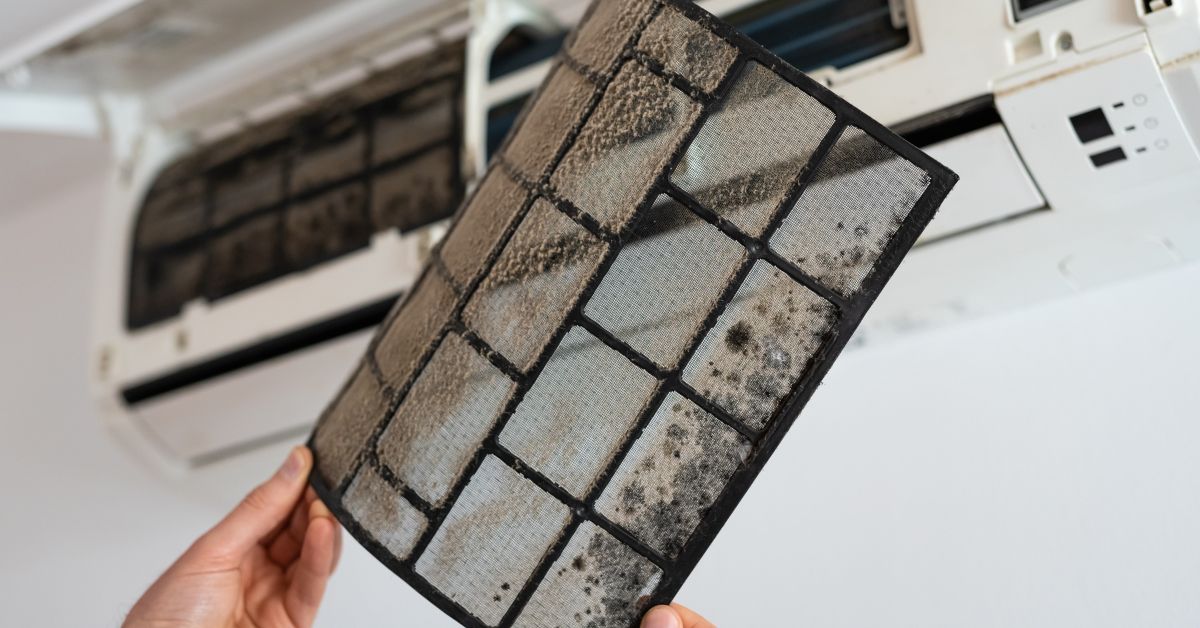
A common yet often overlooked reason for short cycling is dirty air filters. When dust and debris clog the filters, they restrict airflow to the furnace. Limited airflow causes the system to overheat, triggering safety mechanisms that shut the furnace off prematurely. Replacing or cleaning your air filters regularly is a reliable method of preventing this issue and ensuring consistent airflow through your system.

Thermostat Issues

The thermostat plays a critical role in regulating your furnace. If it’s malfunctioning or placed in an area where temperatures fluctuate rapidly, such as near windows, doors, or vents, it may send mixed signals to your furnace. This may lead to frequent cycling as the system tries to respond to inaccurate temperature readings. Ensure that your thermostat is calibrated and properly positioned to resolve this problem.

Oversized Furnace

While it might seem like a larger furnace would offer better heating, an oversized unit may actually exacerbate short cycling. A furnace that’s too powerful for your home warms the air so quickly that it reaches the target temperature almost immediately, leading to frequent shutoffs and restarts. Inefficient operation increases energy use and accelerates wear on the system. Proper system sizing is crucial to avoid these issues.

Blocked Vents or Ductwork

Obstructions in your home’s HVAC system, such as blocked vents or collapsed ductwork, impede the flow of air. When this happens, your furnace struggles to distribute heat effectively, leading to overheating and short cycling. Ensuring that vents are clear and ducts are in good condition can restore proper airflow and help your system run efficiently.

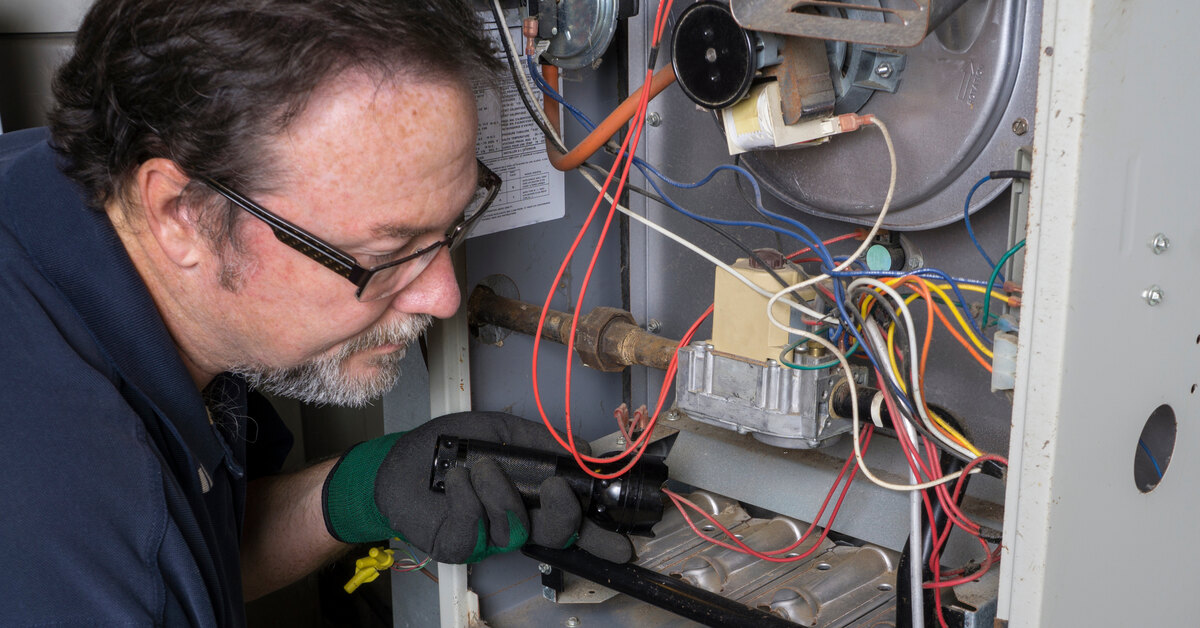
An older man inspects the interior of a furnace, fiddling with the wiring wearing a pair of black gloves.

When To Call a Professional

While some issues are manageable on your own, others require the expertise of a professional HVAC technician. Persistent short cycling, unusual noises, or failure to heat your home effectively are indicators that your furnace needs a thorough inspection. Professionals have the tools and knowledge to identify problems like oversized systems or damaged components beyond the scope of DIY fixes.

Scheduling regular maintenance prevents short cycling from occurring in the first place. Contact W.F. Smith for maintenance and recommendations for the best ways to resolve the issue. We also offer expert furnace installation services to replace your furnace if necessary.

Preventing Furnace Short Cycling

Preventing short cycling starts with regular care and attention. Scheduling annual furnace inspections allows professionals to catch potential issues early, while tasks like changing air filters every few months ensure proper airflow.

Investing in a well-sized furnace and maintaining clear ducts and vents are other steps that go a long way in preserving your system’s efficiency. These preventative measures protect your furnace and improve its overall performance.

Fixing short cycling has a profound impact on your home and your heating costs. With a properly functioning furnace, you’ll notice improved energy efficiency, leading to lower utility bills. You’ll also enjoy more consistent comfort, with even temperatures throughout your home. These long-term benefits make the effort to resolve short cycling well worth it.

Furnace short cycling is more than a minor inconvenience—it’s a serious issue that affects your home and its heating system. Understanding what short-cycling is and how to fix it ensures your furnace operates at its best. Whether it’s replacing a dirty filter, recalibrating your thermostat, or consulting a professional, every action you take brings you closer to a warmer, more efficient home.

How Your Home’s HVAC Can Affect Your Spring Allergies

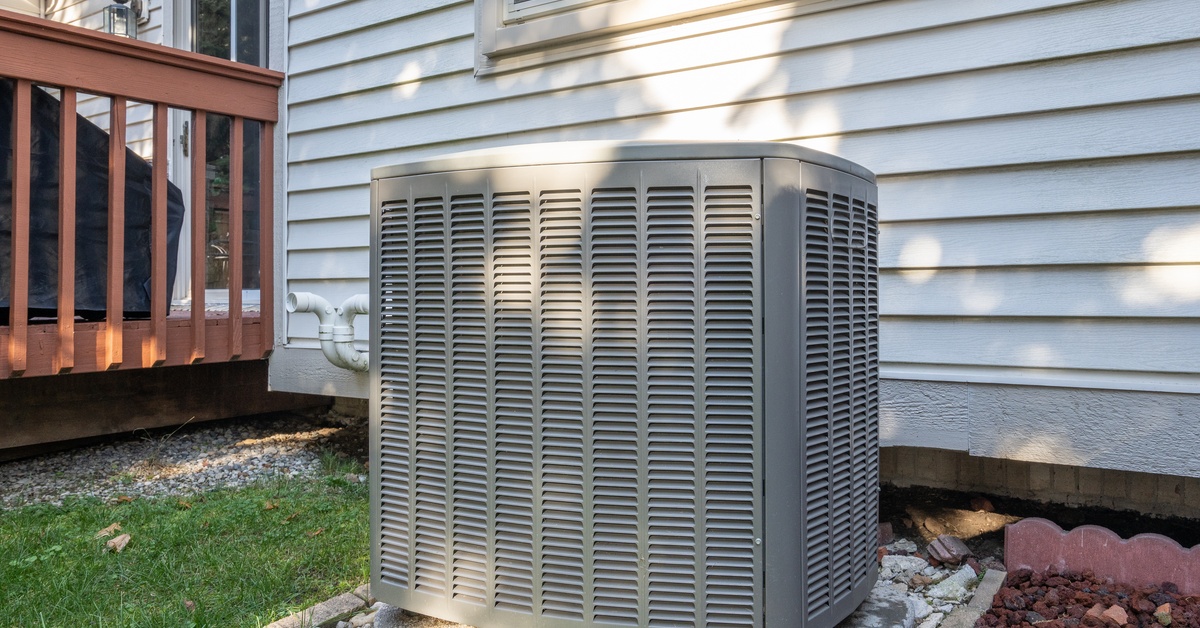
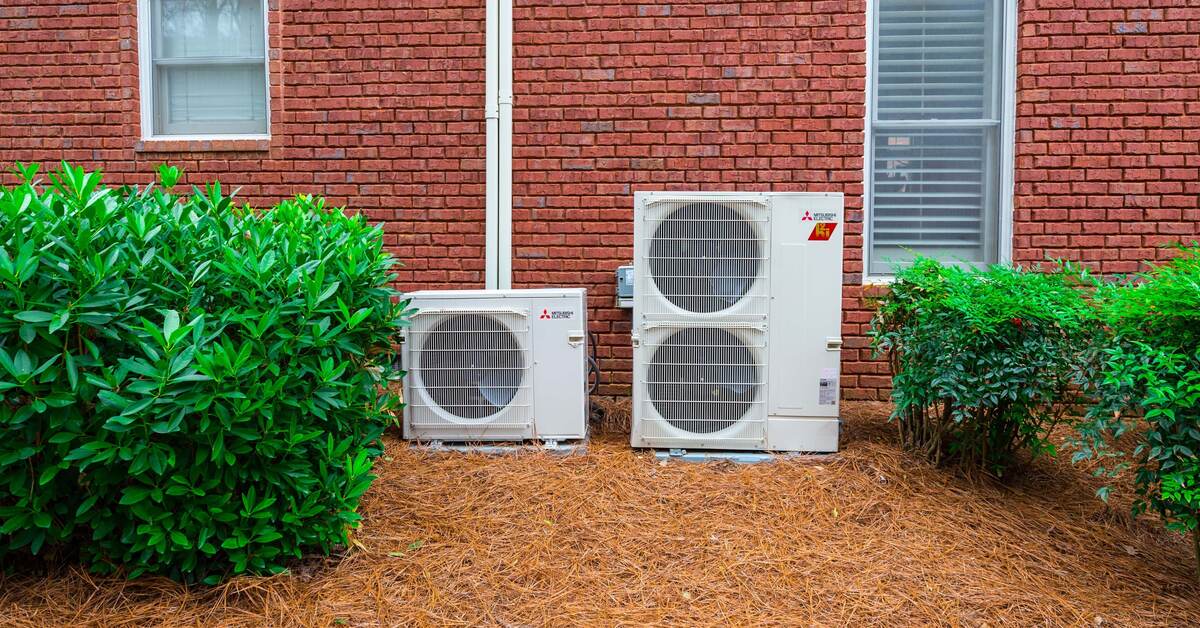
An air conditioner sitting outside a home with new condenser housing next to a brown, wooden porch connected to the house.

Spring in Philadelphia is a time of renewal, blossoming flowers, and, unfortunately, seasonal allergies. For many homeowners, spring allergies mean dealing with sneezing, itchy eyes, and relentless congestion.

While most people focus on outdoor allergens, what happens inside your home also impacts how you feel, especially when it comes to your HVAC. Explore how your home’s HVAC system can affect your spring allergies and discover actionable steps to improve your home’s air quality.

The Connection Between HVAC Systems and Indoor Air Quality

HVAC systems regulate your home’s temperature and circulate the air you breathe every day. While this circulation maintains comfort, it also spreads allergens, such as pollen, dust, and mold spores, if you don’t properly maintain it.

HVAC systems may be a friend and a foe. On one hand, they filter out allergens and improve air quality. On the other, without regular care, they become conduits for distributing allergens throughout your home. The key is understanding how your system operates and what measures to take to minimize allergen exposure.

How Your Home’s HVAC Can Affect Your Spring Allergies

Common Spring Allergens Found Indoors

Spring allergens often start outside but find their way indoors. Pollen, a significant trigger, hitches a ride into your home through open windows, doors, and even on your clothing. Inside, dust mites, mold spores, and pet dander compound the problem, often collecting in HVAC systems.

These allergens can circulate throughout the house when introduced to your HVAC system, worsening symptoms for those with allergies. Identifying and addressing these allergens can drastically improve your indoor air quality.

HVAC Filters and Their Role in Managing Allergens

The HVAC’s filter is one of the most effective tools to combat indoor allergens. HEPA (High-Efficiency Particulate Air) and higher MERV-rated filters trap tiny particles, preventing them from recirculating in your home.

However, choosing the right filter for your needs and routinely changing it is vital. A clogged or low-quality filter won’t do much to keep allergens at bay. Aim to replace 1” filters every one to three months, particularly during allergy season, or up to 12 months with a 5” thick pleated media filter.

The Issue of Dirty Ductwork

Your ductwork is your HVAC system’s highway, delivering air to every corner of your home. However, when ducts accumulate dust, mold, and other allergens, they worsen air quality.

Signs that your ducts might need cleaning include visible dust near vents, musty odors, or increased allergy symptoms among household members. Professional duct cleaning eliminates these irritants, contributing to cleaner, healthier air. You can easily vacuum out floor vents by simply removing the register and pushing the hose into the opening, as it is a common place for debris to accumulate there.

HVAC Fan Settings and Air Circulation

Your HVAC system’s fan settings influence how allergens travel through your home. For example, running the fan in the “On” position allows the system to constantly filter the air but may worsen allergies by continuously circulating airborne particles if you don’t have a good filter in place.

We highly recommend the installation of a high MERV-rated media filter if you only have a 1” filter. However, it might be best to use the “auto” fan setting in the meantime to reduce the circulation of allergens.

Dealing With Mold in Your HVAC System

Mold thrives in moist environments, and your HVAC system, particularly the condenser or evaporator coils, provides ideal conditions. Therefore, mold spores can enter your home through the air ducts, triggering allergic reactions.

Consult a professional immediately if you notice musty smells or visible mold near vents. Regular cleaning and dehumidification prevent mold growth and keep your home’s air healthy. Adding a UV light in the indoor coil can prevent mold growth.

The Role of Humidity and Your Indoor Air Quality

Balancing indoor humidity is essential for managing allergens. Too much humidity encourages mold and dust mites, while too little irritates your respiratory system.

Your HVAC system regulates humidity with humidifiers or dehumidifiers. The ideal indoor humidity level is between 30% and 50%. Heat pumps are a great addition to your home to maintain a stable humidity level and prevent allergy flare-ups as they continuously circulate air, avoiding an overly dry or saturated interior.

Consider the heat pump installation services from W.F. Smith for a smooth installation that keeps the air fresh and creates an environment that deters mold spores. Maintaining this balance creates a healthier living environment.

Regular Maintenance and Its Impact on Allergies

Routine HVAC maintenance is one of the best ways to ensure cleaner indoor air. Our professional inspections identify potential issues, such as dirty filters, ductwork, or mold, addressing them before they worsen.

Make maintenance tasks a regular part of your seasonal upkeep, such as filter replacement, duct cleaning, and coil inspections. This proactive approach significantly reduces allergens and enhances your system’s performance.

Air Purifiers and Their Compatibility With HVAC Systems

Air purifiers add an extra layer of defense against airborne allergens. Whole-home air purifiers, which integrate with your HVAC system, provide comprehensive coverage. Pairing air purifiers with a well-maintained HVAC system helps you effectively tackle even the tiniest allergens, ensuring cleaner, fresher air throughout your home.

Portable units are another option for added filtration in specific rooms, but the low amount of airflow limits their effectiveness relative to their cost.

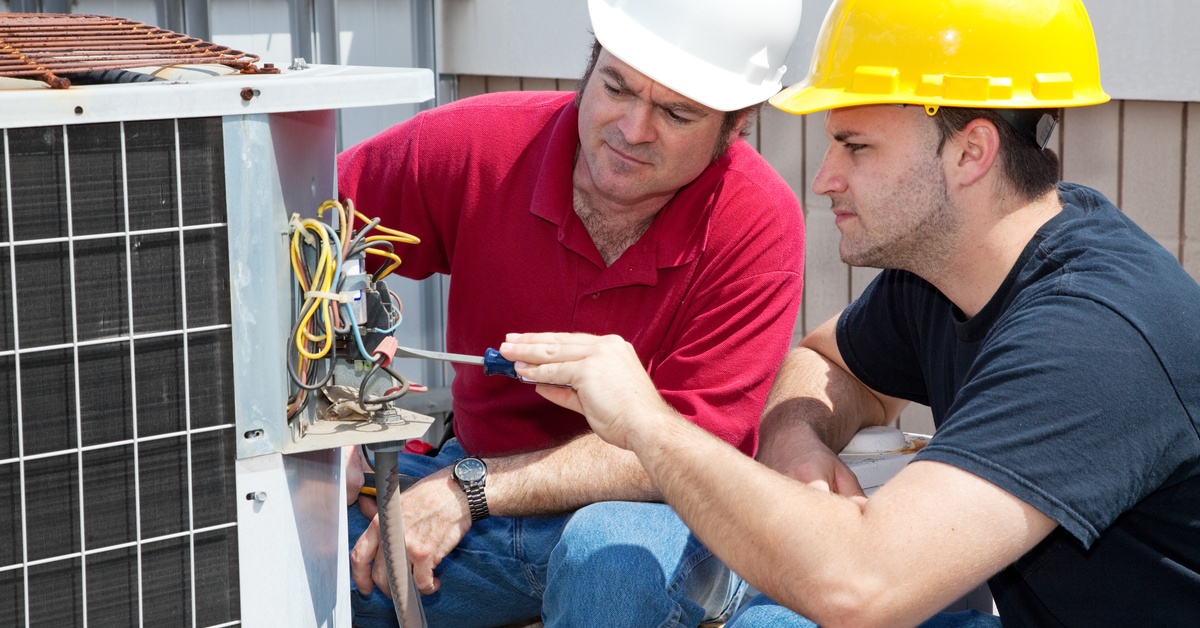
Two men wearing hard hats and inspecting an outdoor air conditioning unit. One uses a screwdriver to pick at the wiring.

Upgrading Your HVAC System for Allergy Relief

It might be time for an upgrade if your current HVAC system has seen better days. Modern systems often come with advanced features, such as UV lights that sterilize air or high-efficiency filters that capture microscopic particles.

Consult the experienced technicians at W.F. Smith for a recommendation in making upgrades. Professional help is always the best step when moving forward with renovations, and our experts will work with you to improve your home to fit your needs.

Sealing Your Home To Limit Allergen Entry

Your home’s defense against outdoor allergens begins with proper sealing. Cracks, gaps, and poorly insulated areas allow pollen, dust, and other irritants to infiltrate your living space.

Ensure proper sealing around windows and doors, and invest in high-quality insulation to reduce allergen entry. These steps improve air quality and boost energy efficiency.

Tips for Allergy-Proofing Your Home With Your HVAC Unit

It’s important to give your HVAC unit a helping hand to ensure it doesn’t carry the full responsibility of keeping your home allergy-free. Here are some daily habits to incorporate to minimize allergens indoors:

  • Clean or vacuum floors and furniture regularly using HEPA-equipped devices.
  • Avoid leaving windows open during high-pollen days.
  • Run your HVAC system when pollen levels are high to filter outdoor air before it enters the home.
  • Wipe down air vents and registers as part of your cleaning routine.

Small, consistent actions combined with regular HVAC maintenance make a significant difference in your household’s overall health.

Your home’s HVAC system can affect your spring allergies in many ways, and maintaining it is the key to creating a cleaner, healthier home environment. Spring allergies may be inevitable, but their impact doesn’t have to be. Take proactive steps with your HVAC system, and enjoy the season with fewer sneezes and more smiles.

12 Warning Signs Your Furnace Needs a Tune-Up

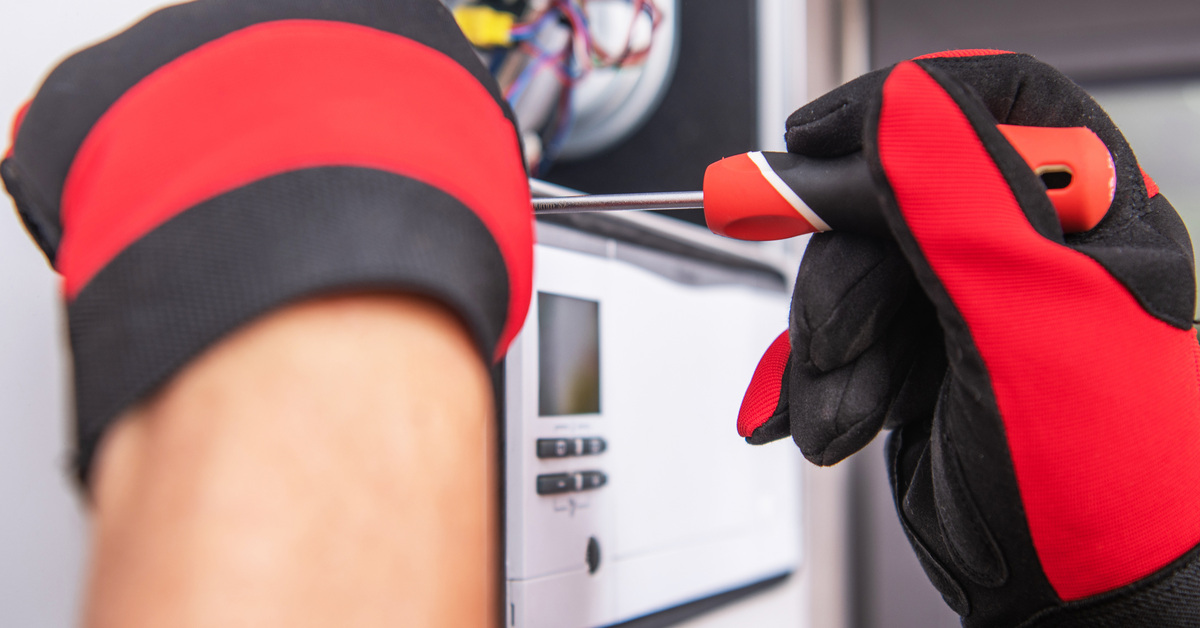
A person wearing thick red-and-black gloves wielding a screwdriver as they tinker with the wiring of a furnace device.

Keeping your home warm and cozy during winter depends heavily on your furnace’s performance. Just like any other vital system in your home, your furnace requires regular maintenance to stay safe, efficient, and reliable.

Recognizing potential issues early helps you protect your home, improve energy efficiency, and even extend the life of your furnace. Here are some important warning signs your furnace needs a professional tune-up, ensuring you stay ahead of any problems.

1. Unusual Noises Coming From the Furnace

Strange noises are a notable signal that there’s an issue with mechanical devices. Banging, rattling, squealing, or whistling sounds indicate loose components, a faulty blower motor, or even a cracked heat exchanger. These issues worsen over time, leading to more expensive repairs if left unchecked.

While some noises may seem harmless, it’s always better to have a professional evaluate the problem early on for peace of mind. A quiet furnace is a healthy furnace, so don’t ignore these auditory red flags.

2. Uneven Heating or Cold Spots in Your Home

If certain rooms in your home feel colder than others despite the furnace running, this might point to an issue with your system. Uneven heating could result from problems such as clogged filters, leaky ducts, or a struggling furnace that can’t circulate air effectively.

This inefficiency reduces your home’s comfort and increases energy waste as your system works harder to maintain desired temperatures. Promptly addressing this issue ensures balanced heat distribution throughout your living space. A well-tuned furnace is key to consistent, even warmth in every corner of your home.

3. Rising Energy Bills Despite Normal Usage

If you notice a sudden spike in your energy bills after using your furnace normally, there may be an internal issue. A furnace operating inefficiently due to worn-out parts, dirty filters, or other underlying problems requires more power to function. Over time, these inefficiencies cause your utility costs to climb significantly.

Catching and fixing these issues early saves money and prevents undue strain on your system. Regular tune-ups keep your furnace running at peak efficiency, ensuring you’re not paying more than necessary to heat your home.

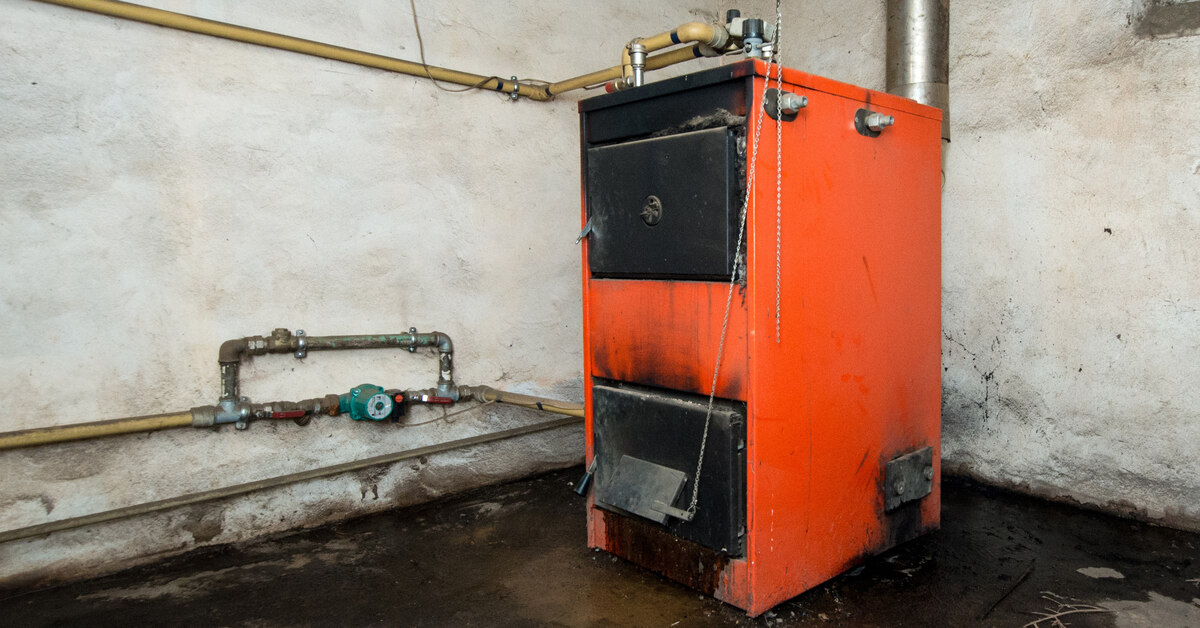
An old, orange furnace in the corner of a room with a patch of dark residue around it on the concrete floor.

4. An Aging Furnace Approaching 10+ Years

Furnaces are strong, but even the best systems start to show their age after a decade or so. Older furnaces are more likely to experience breakdowns, reduced efficiency, and higher repair costs compared to newer models.

If your furnace is over 10 years old, investing in regular tune-ups helps it maintain its performance and reliability. Hire professionals skilled in heating and cooling services from W.F. Smith for a thorough inspection. Staying proactive also gives you time to plan for a replacement when the time comes, preventing last-minute surprises or emergencies.

5. Frequent Cycling On and Off

Short cycling is the frequent switching of your furnace from on to off, and it’s a sign of trouble. This pattern occurs due to a dirty filter, thermostat issue, or even an overheating furnace.

Short cycling reduces heating efficiency and puts added stress on the system, potentially shortening its lifespan. Ensuring your furnace cycles properly maintains comfort and minimizes wear and tear. A properly functioning furnace should run smoothly without constant interruptions.

6. Unpleasant Odors From the Furnace or Vents

A functioning furnace shouldn’t produce unusual smells. If you notice persistent odors like burning, mustiness, or gas, it’s time to investigate. Burning smells may indicate an electrical issue or debris in the system, while musty odors often signal mold or mildew buildup in the ducts.

More seriously, the smell of gas could point to a leak or combustion issue, which requires immediate professional attention. Eliminating these odors keeps your home environment safe and pleasant.

7. Yellow or Flickering Pilot Light

The color of your furnace’s pilot light reveals surprising health results. A healthy furnace typically has a steady blue pilot flame, which indicates proper gas combustion.

If your pilot light is yellow or flickering, this could be a sign of a ventilation issue, carbon monoxide leak, or impurities in the gas line. Such problems are dangerous and need inspection by a professional immediately. Don’t take risks with your furnace—your household’s safety depends on it.

8. Difficulty Starting the Furnace or Keeping It Running

If you need to try several times or troubleshoot each time you start your furnace, it could be a sign of wear and tear. Aging components, a failing motor, or thermostat problems all cause difficulty in starting or operating consistently. Even small delays in startup signal bigger underlying issues.

A professional tune-up identifies and addresses these problems before they lead to complete system failure. Reliable heating starts with a furnace that runs smoothly with minimal effort.

9. Poor Air Quality Throughout the Home

Your furnace does more than just heat—it plays a critical role in circulating air throughout your home. If your family is experiencing more allergies or you notice excess dust and particles, your furnace could be contributing to poor air quality.

Dirty filters, uncleaned ducts, or mold growth in the system all worsen the air you breathe. Regular maintenance ensures your furnace delivers cleaner, healthier air. Your comfort shouldn’t come at the cost of your health.

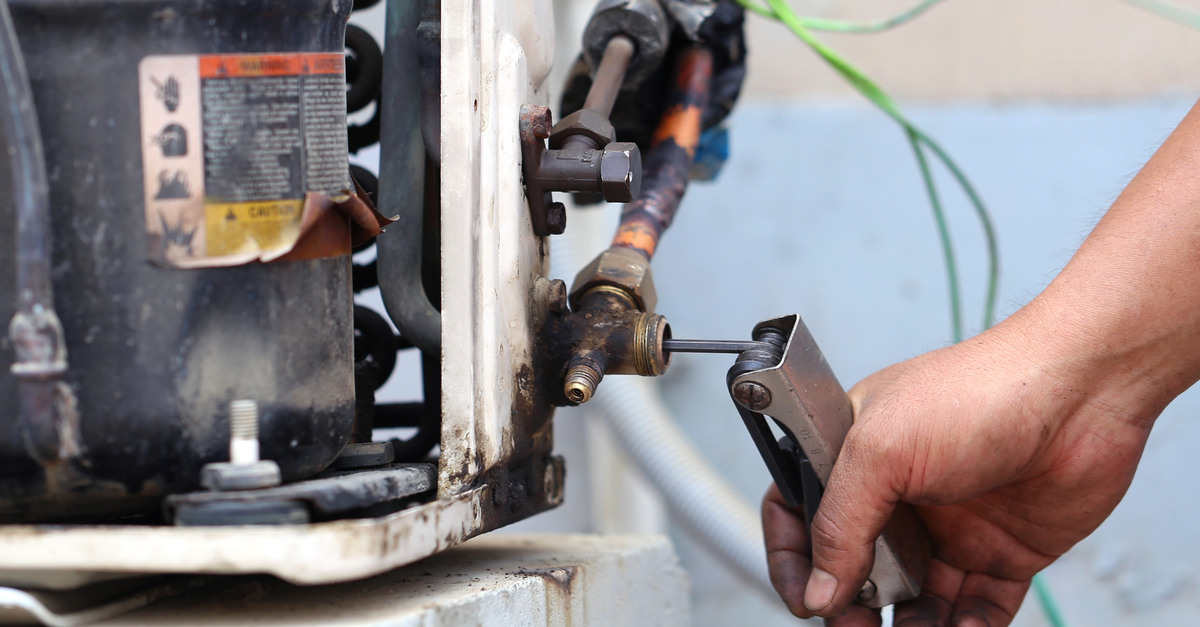
A rusty furnace with layers of dirt and peeling metal being worked on by a person turning a set of hex wrenches on a screw.

10. Visible Signs of Rust or Corrosion

Rust or corrosion on any part of your furnace is a clear warning sign of trouble. Over time, moisture buildup within the system leads to deterioration, affecting key components like the heat exchanger.

Ignoring rust results in safety hazards or causes your system to fail prematurely. Because of this potential issue, scheduled maintenance is an essential component in furnace longevity to avoid rust.

Addressing visible wear prevents larger, more expensive problems down the road. A professional technician may restore your furnace to safe and proper functioning or offer suggestions for replacement.

11. Unresponsive Thermostat

Sometimes, furnace problems are due to the thermostat. If you find that adjusting the thermostat has no impact or results in inconsistent heating, it might be more than just a faulty control unit. Malfunctioning thermostats drain energy and limit your furnace’s ability to provide effective warmth.

Reconnecting or replacing the thermostat often resolves the issue, but a professional assessment ensures you address the correct cause. A responsive thermostat makes all the difference in creating a comfortable home environment.

12. Carbon Monoxide Detector Alerts

Carbon monoxide is a colorless, odorless gas that poses a danger to your household. If your carbon monoxide detector goes off, turn off your furnace immediately, open windows for ventilation, and call a technician right away.

Common causes include cracked heat exchangers or improper combustion, which require immediate attention. Protecting your household from this threat underscores the importance of regular furnace maintenance. Safety should always be your priority.

If you’ve noticed any of the warning signs listed, your furnace needs a tune-up immediately. Professional tune-ups resolve issues before they escalate into bigger problems, saving you from headaches and unexpected costs. Don’t wait until your furnace stops working altogether—be proactive and stay warm. Your comfort and peace of mind are worth it. Stay alert to these warning signs to ensure your furnace stays in great shape and keeps you and your family comfortable all winter long.

The Heat Pump Installation Process Explained

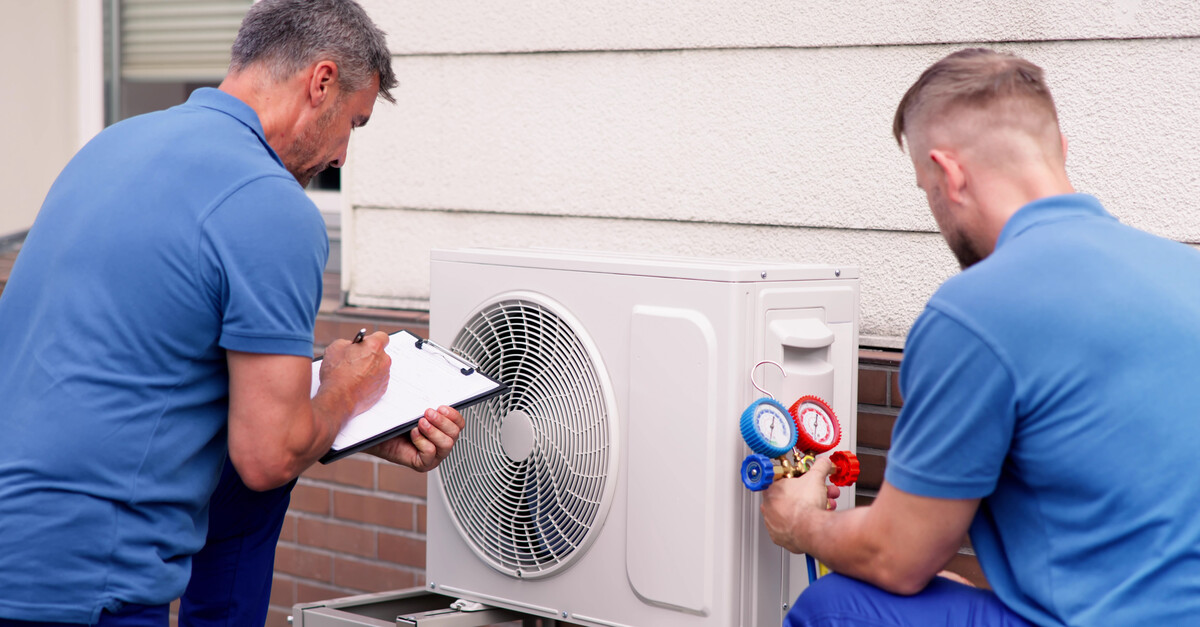
Two men in blue polos work on the outdoor unit of a heat pump on the side of a house with brick and siding.

Installing a heat pump into your home provides incredible energy efficiency, cost savings, and year-round comfort. However, these units require proper installation for a system that operates effectively and lasts for years to come. Explore the heat pump installation process to feel confident in choosing the best system and setting it up for success.

1. Introduction to Heat Pumps

Heat pumps offer an energy-efficient way to heat and cool your home, working by transferring heat rather than generating it. They provide a single solution for year-round temperature control and reduce reliance on conventional heating fuels.

Proper installation is critical, as even minor errors lead to reduced performance and higher energy consumption. A well-installed heat pump also reduces wear and tear, extending its lifespan. Investing in the right system and a skilled installation is essential for long-term energy and cost savings.

2. Assessing Your Heating and Cooling Needs

Every home is unique, and choosing the right heat pump starts with understanding your specific heating and cooling requirements. Factors such as the size of your home, the Philadelphia climate, and each room’s energy needs play a major role in system selection.

Conducting an energy assessment allows professionals to identify areas of energy loss within the home and evaluate your current system’s performance. This testing ensures your heat pump meets your household’s demands. Without properly assessing your needs, you risk installing a system that’s either too large or too small, both of which undermine efficiency.

3. Choosing the Right Heat Pump for Your Home

When it comes to heat pumps, there are several types to choose from, including air-source, ground-source (geothermal), and hybrid systems. These are the main features of each type:

  • Air-source heat pumps are ideal for milder climates like Philadelphia. It takes the heat from the air inside or outside a building and releases it into the opposite space.
  • Geothermal systems offer unparalleled efficiency and longevity by using the earth’s stable temperature and taking heat from the ground.
  • Hybrid systems are a combination of a heat pump and a gas furnace that provide a significant boost in heating efficiency.

Matching the heat pump to your home’s specifications, such as energy efficiency goals and insulation quality, is key. An experienced HVAC technician can guide you through options to find the best fit.

The Heat Pump Installation Process Explained

4. The Importance of Professional Installation

Hiring a certified and experienced technician is one of the best decisions when installing a heat pump. Our professionals install the system according to the manufacturer’s guidelines, which is essential for maintaining efficiency, performance, and warranty coverage.

DIY installation might seem cost-effective, but it often leads to errors such as poor placement or incorrect electrical connections, which shortens the system’s lifespan. Additionally, our heat pump installers provide valuable advice, ensuring you understand how to operate and maintain your system. Entrusting the job to an expert protects your investment.

5. Pre-Installation Inspection and Planning

Before the installation begins, your contractor will conduct a thorough inspection of your home and installation site. This inspection includes evaluating indoor and outdoor spaces, identifying potential obstacles, and ensuring your home meets structural and electrical requirements. Factors like available space, existing ductwork, and access to electrical connections are all considerations.

Proper pre-installation planning ensures the process is efficient and minimizes disruptions to your home. Inspecting and planning also reduce the risk of costly adjustments during or after the installation process.

6. Determining the Best Location for the Heat Pump

The placement of heat pump components, including the indoor and outdoor units, has a significant impact on performance and noise levels. Outdoor units require a location with sufficient airflow, away from obstructions like walls or bushes, and as close to the interior unit as possible to minimize tubing length.

For indoor units, choose spots with good airflow and easy maintenance access. Strategically placing the heat pump units ensures optimal efficiency and reduces noise and vibration.

7. Preparing Your Home for Installation

To ensure a smooth installation process, you need to do some preparation beforehand. Clear the installation area of any furniture, plants, or obstructions to provide technicians with sufficient working space. Ensure that electrical and plumbing connections are within reach of the system’s designated location. Depending on the unit, you may need additional structural reinforcements, like a concrete pad. Communicate with your installation team to understand what to expect and how to prepare.

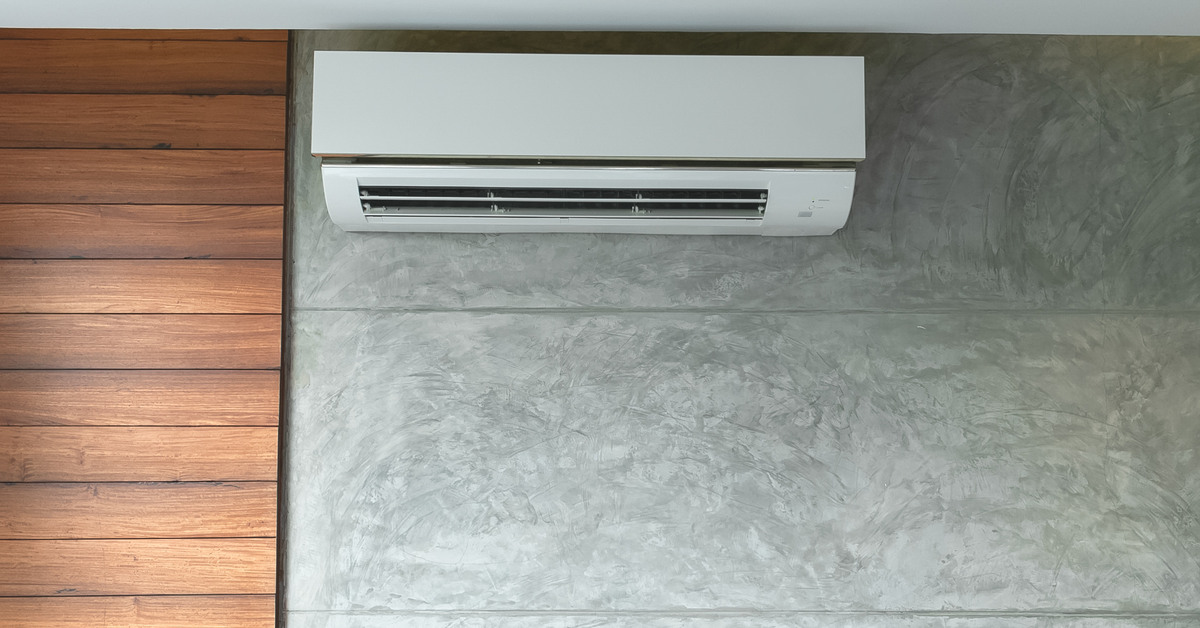
The interior of a home with wooden and linoleum walls has a ductless HVAC unit near the ceiling.

8. Installation of the Outdoor Unit

The installation process begins with setting up the outdoor condenser unit. The unit is anchored to the ground or mounted on a platform to protect it from vibration and potential damage. Proper alignment is crucial for maintaining airflow and efficient operation.

Technicians also inspect to ensure that the unit is level and adequately spaced from nearby walls or landscaping. The outdoor unit’s location and setup play a major role in its efficiency and durability. A solid foundation ensures reliable performance throughout the life of the system.

9. Installation of the Indoor Units

For ducted systems, existing or new ductwork connects the unit to airflow vents. Ductless systems, such as mini-splits, involve mounting units on walls and connecting them to the outdoor system.

Your setup—whether it’s a single-zone or multi-zone system—determines how many indoor units you need. Technicians ensure the units maximize airflow and deliver even temperature control across rooms. The installation of the indoor units lays the foundation for consistent and comfortable indoor temperatures.

10. Connecting the Components

Once the indoor and outdoor units are in place, the next step is to link them using refrigerant lines, electrical wiring, and drainage systems. These components enable the transfer of heat and operation of the system, so ensuring accuracy is vital.

Proper insulation of the lines minimizes energy loss and protects against environmental factors. The seamless connection of components ensures that the heat pump operates effectively and delivers optimal results.

11. System Testing and Calibration

The system then undergoes rigorous testing to confirm functionality. Technicians check all components, including refrigerant levels, airflow, and thermostat communication, to verify that the system is working efficiently.

Any adjustments necessary for calibration occur at this stage to fine-tune the system for optimal performance. This testing process ensures the heat pump is safe, reliable, and ready to deliver consistent comfort.

12. Explaining the Control System

With the system operational, your technician will guide you through using the thermostat and other system controls. Understanding how to adjust temperatures effectively and set energy-saving modes can maximize the value of your system.

Technicians share practical tips, such as the ideal temperature settings for summer and winter. Mastering the controls empowers you to make the most of your new heat pump while keeping energy bills low.

Investing in a properly installed heat pump provides significant benefits in the short and long term. Understanding the heat pump installation process ensures you use the system effectively and makes the process easier for professional installers. With the right care and attention, your heat pump will meet your heating and cooling needs for years, offering savings, sustainability, and satisfaction.