What Homeowners Overlook Before Replacing Their AC System

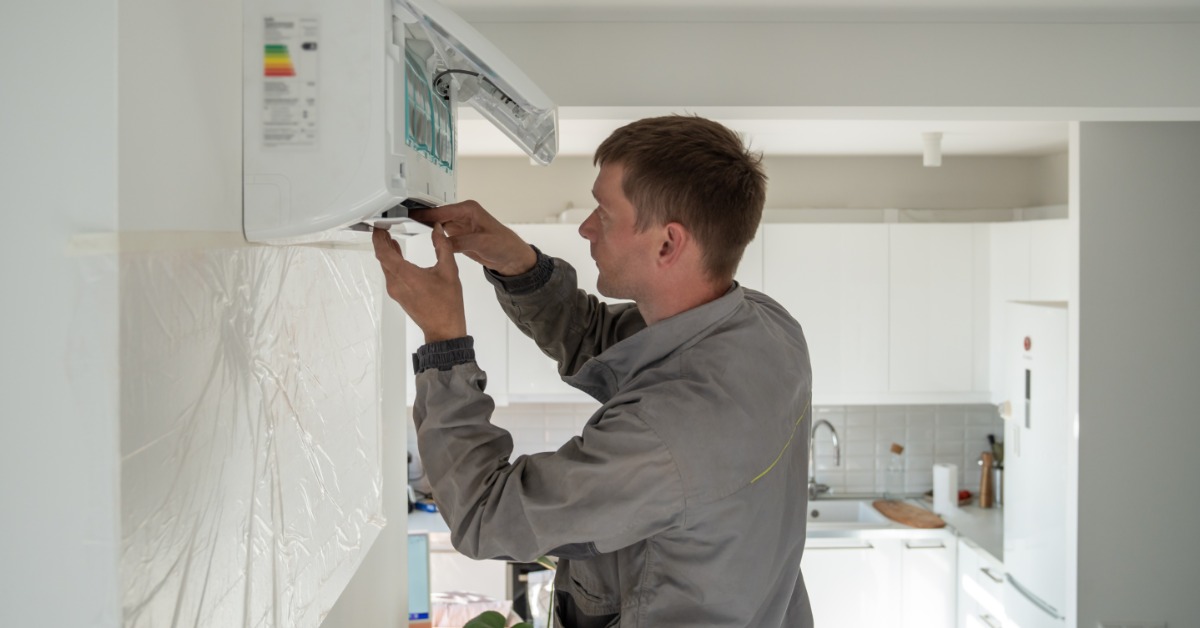
A man in a gray uniform adjusting and repairing a wall-mounted air conditioner mini-split system inside a home.

Replacing an air conditioner often starts with one simple thought: the old system is failing, so you need a new one. From there, attention usually shifts to equipment prices and efficiency ratings. Those details matter, but they only tell part of the story. A successful replacement also depends on what your home needs and whether the new equipment fits those conditions.

Looking closely at what homeowners overlook before replacing their AC system helps explain why two similar-looking installations often produce different results. A little planning before you choose a replacement helps you avoid carrying old comfort problems into a new system.

Start With the Problems You Already Notice

Before you compare new systems, think about how your current AC performs. Does one bedroom stay warmer than the rest of the house? Does the second floor feel uncomfortable on humid afternoons? Those problems give your installer useful information before the replacement process begins.

Replacing old equipment without discussing existing comfort concerns often leaves those concerns unresolved. A new outdoor unit will not correct weak airflow to one room if the real problem sits inside the duct system. Tell your installer what you notice during normal use so the recommendation starts with the problem you want solved.

Write Down What Happens During Hot Weather

You do not need technical knowledge to provide useful information. Think about what happens when outdoor temperatures rise and how long the system runs. Those details give the installer a better picture than the thermostat setting alone.

Before the estimate, make a short note of concerns such as:

  • Rooms that stay warmer than nearby spaces
  • Weak airflow from certain vents
  • High indoor humidity during summer
  • Frequent AC repairs
  • Long cooling cycles
  • Sudden starts and stops
  • Unusually high summer energy bills
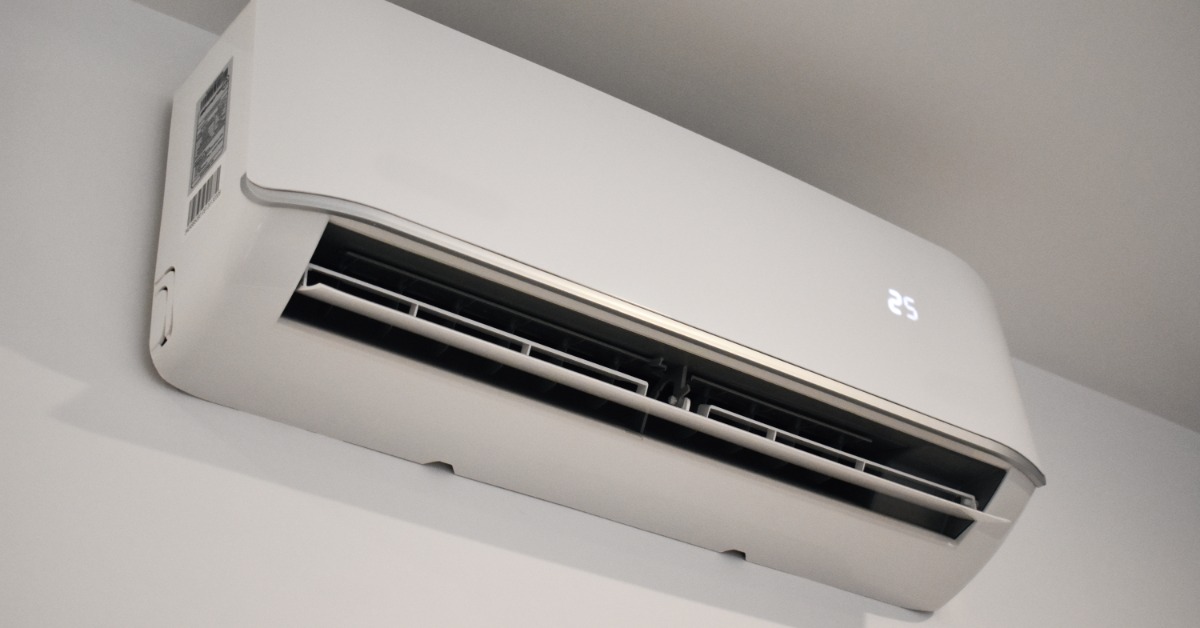
A white wall-mounted air conditioner with open vents and a lit temperature display installed near the ceiling.

Do Not Assume the Old AC Was the Right Size

One of the easiest mistakes is replacing an old system with another unit of the same capacity. The old AC might have been oversized or undersized from the beginning. Your home may also have changed since the equipment was installed. Using the existing unit as the only sizing guide risks repeating an old mistake.

An installer should account for the amount of heat entering the home during warm weather. The result helps determine the required cooling capacity under real conditions.

Ask About the Load Calculation

A load calculation gives the installer a detailed view of your home’s cooling demand. The process considers how the structure responds to outdoor temperatures and how much cooling each area requires. For homeowners in older houses, this step is especially useful because layouts often change over time.

For example, replacement windows might reduce heat gain. On the other hand, a finished addition might increase demand. A new calculation reflects those changes instead of relying on assumptions made years ago.

Have the Ductwork Evaluated

Homeowners sometimes spend most of the estimate discussing the new AC while the ductwork receives little attention. Yet every central cooling system relies on ducts to distribute conditioned air throughout the house. If those ducts have problems, the new equipment will still struggle to deliver the results you expect. The replacement process should include a review of the air distribution system.

Sections may leak after years of use, while previous remodeling work may have changed how air moves through the home. Finding these issues before installation gives the contractor time to address them as part of the larger plan.

New Equipment Still Needs the Right Airflow

Airflow requirements vary between systems. Your ductwork needs to support the equipment selected for the home. If the ducts restrict airflow, the AC may operate under more strain.

This review is crucial with variable-capacity equipment as well. Advanced controls improve the system’s response to demand, but they do not repair weak ducts. The installation still needs an air distribution system capable of supporting the equipment.

Think About Humidity Before Installation Day

Homeowners often judge an AC by temperature alone. However, a house at a reasonable temperature can still feel uncomfortable when humidity stays high. The replacement process is a good opportunity to discuss any moisture problems you have already noticed.

Variable-capacity equipment often handles changing humidity conditions more smoothly because its output adjusts with demand. Still, the installer needs to understand your existing humidity concerns before recommending equipment. If your old AC leaves the house feeling sticky, mention the problem during the estimate. Do not assume a new system will solve the issue automatically.

Look Beyond the Efficiency Rating

Efficiency ratings tell you how efficiently the equipment is designed to operate under specific conditions. However, you must think of efficiency as one part of the decision, not the whole decision. A properly selected system that works with your ductwork often provides a better experience than a higher-rated unit installed without enough planning. Ask your installer what each efficiency option means for your home.
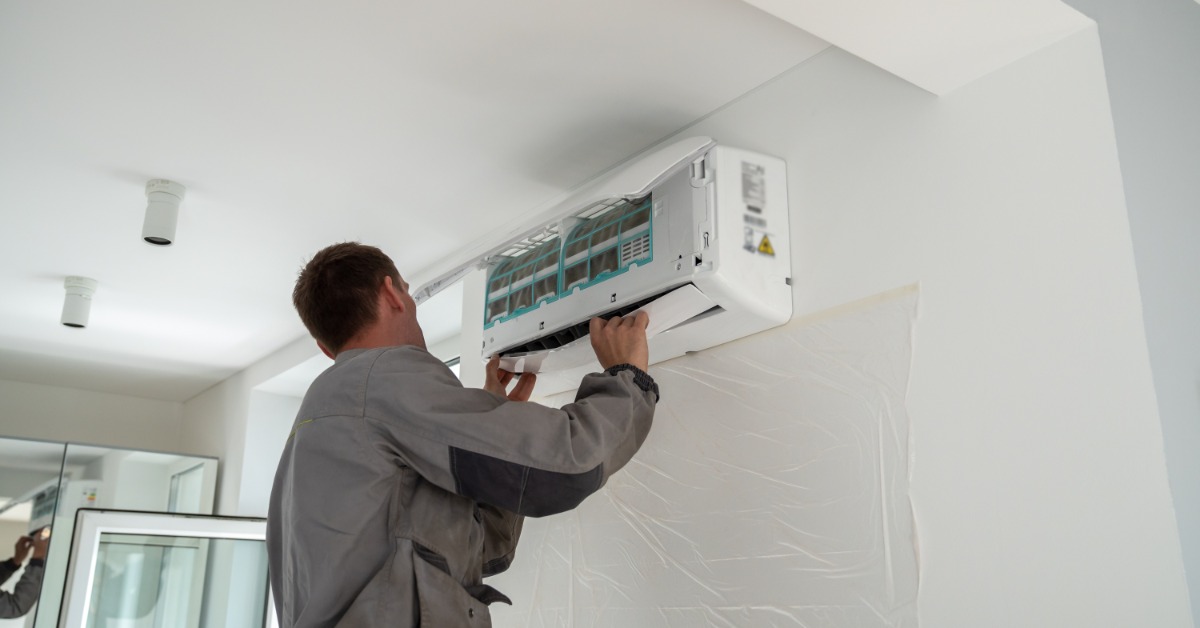
A man in a gray uniform working on an open wall-mounted air conditioner above plastic sheeting in a white room.

Review What the Installation Includes

Two AC estimates may list similar equipment while covering different amounts of work. Before comparing prices, find out what each proposal includes. The contractor should explain the scope in clear language. This gives you a better way to understand why one estimate differs from another.

Ask what will happen to the existing indoor equipment and whether the refrigerant lines need attention. Do not hesitate to ask for a written proposal, as it can help keep expectations clear.

Consider How Long You Plan To Stay in the Home

Your plans for the house also influence the decision to replace it. A homeowner expecting to stay for many years may view equipment features differently from someone preparing to move sooner. This does not mean choosing the cheapest system for a short stay. Instead, think about which features solve problems you experience now.

Comfort should remain the focus. If certain rooms have always been difficult to cool, use the replacement as an opportunity to address the underlying cause. If humidity has bothered you every summer, bring that concern into the conversation.

Give the Installation as Much Attention

A new AC is a major purchase, but the equipment alone does not determine the result. Sizing and ductwork shape how the system performs after installation. Your home’s comfort history also provides important clues. For homeowners, overlooking these factors before replacing their AC system can lead to comfort issues.

W.F. Smith helps homeowners approach AC replacement with a closer look at the home before recommending new equipment. Need dependable ductless mini split service? Our team evaluates your cooling needs and considers how the existing system serves each space. If your current AC is nearing replacement, schedule an estimate with us and get a plan built around dependable comfort.
Why Is Your Home Humid With the AC Running?

A person reclining on a gray sofa beneath a wall air conditioner, with a lamp, window, plant, and teal pillow.

If your air conditioner is running and your home still feels sticky, you have good reason to wonder what is going on. Cooling and humidity control work closely together, so an AC system should remove some moisture while lowering the indoor temperature. When the house stays damp, something may be interfering with that process. To understand why your home is humid with the AC running, start by looking at how the system operates during each cooling cycle.

Your AC Needs Time to Remove Moisture

Your air conditioner does more than lower the temperature. As warm indoor air passes over the cold evaporator coil, moisture condenses on the coil and drains away from the system. This process reduces indoor humidity while the AC runs. Longer, steady cooling cycles usually give the system more time to remove moisture.

Problems begin when those cycles end too quickly. The temperature might drop before the AC removes enough moisture from the air. As a result, you end up with a home that feels cool on the thermostat but uncomfortable in person.

Short Cycling

Your AC might stop and restart because of a thermostat problem or another equipment issue. Either way, repeated short cycles reduce the time available for moisture removal. As a result, you may hear the system start several times within a short period while the indoor air still feels damp.

Pay attention to how your AC runs during humid weather. A healthy system should not repeatedly start and stop every few minutes under normal conditions. If yours does, schedule an inspection rather than lowering the thermostat.

Poor Airflow

Your AC depends on steady airflow across the evaporator coil. When airflow drops, cooling performance changes, and moisture removal often suffers as well. A dirty filter is one common place to start looking. A filter packed with dust makes the blower work harder to move air through the system.

Blocked return grilles and closed supply vents create similar trouble. Restricting airflow does not redirect comfort as many homeowners expect. Instead, it may disturb pressure and airflow throughout the system.

Check the Filter Before Assuming the Worst

If the house suddenly feels more humid, look at the filter before making thermostat changes. Replace a dirty filter with the type recommended for your system. Then give the AC time to operate normally. If humidity remains high, you know the problem needs a closer inspection.

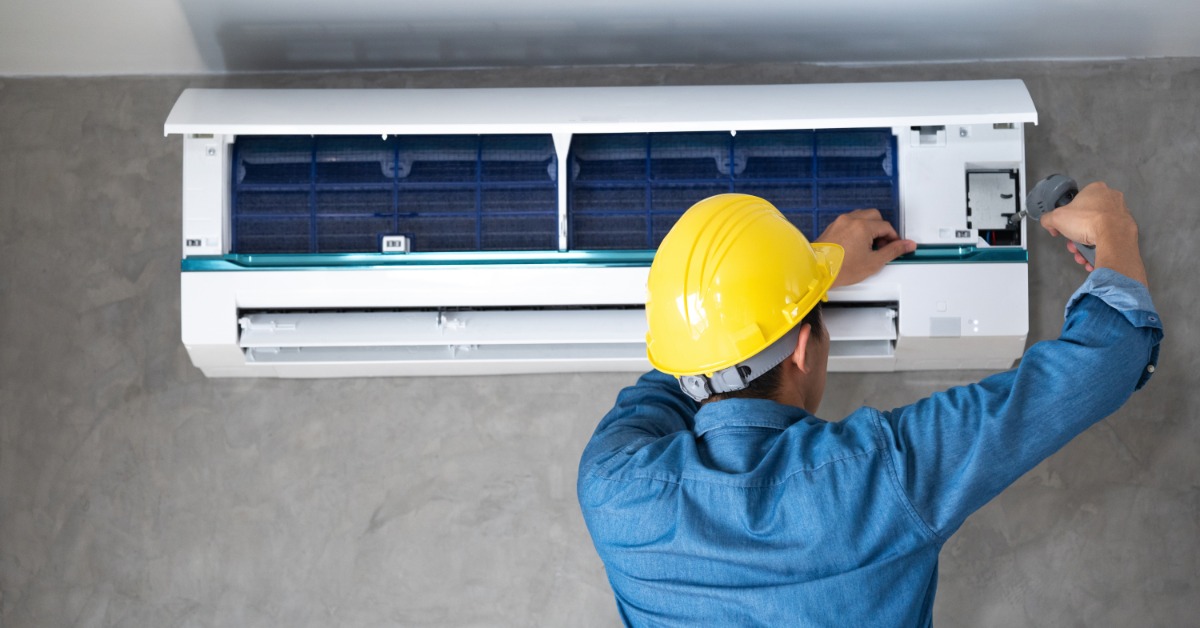
A person in a yellow hard hat and blue shirt using a screwdriver on an open wall air conditioner with a gray wall.

A Dirty Evaporator Coil

Even with a clean filter, dirt can still reach the evaporator coil. That layer of buildup makes heat transfer even more difficult. As a result, the AC struggles to cool and remove moisture the way the equipment was designed to operate. You might notice longer run times without much improvement in comfort.

The evaporator coil is located inside the indoor portion of the system, so most homeowners do not inspect its surface themselves. A professional technician should check the coil when poor performance continues despite a clean filter and open vents.

Refrigerant Problems

Your AC needs the correct refrigerant charge to move heat through the system properly. When refrigerant levels fall because of a leak, the cooling process changes. In some situations, the evaporator coil may become too cold, raising the risk of ice formation. In other cases, cooling performance simply drops.

A refrigerant problem often comes with other clues. You might notice poor cooling or longer system operation times. Ice forming around the indoor coil or the refrigerant lines also warrants attention. If you notice these symptoms, schedule a professional consultation immediately.

Outside Humidity May Be Getting Into Your Home

Sometimes your AC works properly while the house keeps gaining moisture from outside. Older homes often have air leaks around windows or doors. As a result, humid outdoor air enters the living space throughout the day, and your AC has to remove that added moisture while also handling the normal cooling load.

Duct leaks create another path for humid air. When ducts run through an attic, crawl space, or another unconditioned area, leaks may pull warm, damp air into the system. That air then reaches the rooms you are trying to keep comfortable. If humidity problems affect certain parts of the house more than others, ductwork deserves a closer look.

A woman in a denim shirt touching a round digital thermostat on a white wall beside two light switches.

Your Thermostat Settings

Your thermostat affects how the blower operates after each cooling cycle. Many thermostats give you a choice between “auto” and “on” for the fan setting. When you choose “on,” the blower continues moving air even after the outdoor unit stops cooling. That airflow may move moisture left on the evaporator coil back into the home instead of letting the water drain away.

For most cooling situations, the “auto” setting gives the system a better chance to manage moisture. The blower stops when the cooling cycle ends, allowing the water on the coil to drain. If you recently changed the fan setting and started noticing increased humidity, switch back to “auto” and see how the home feels.

Know When Humidity Points to a Service Call

A humid day outside does not always mean something is wrong with your AC. The concern grows when your home repeatedly feels damp while the system runs for normal cooling periods. In that case, a professional inspection helps narrow down the source.

Before scheduling service, pay attention to a few warning signs:

  • The AC starts and stops more often than usual.
  • Indoor air stays sticky at a comfortable temperature.
  • Certain rooms feel more humid than others.
  • Airflow from the vents feels weak.
  • Ice appears near the indoor unit or refrigerant lines.
  • Humidity increased after a recent AC replacement.
  • The fan runs constantly even when cooling stops.

Share those details with your HVAC technician. Small observations help explain how the system behaves between service visits, and they give the technician a better starting point for diagnosis.

Get to the Source of Indoor Humidity

If you have been asking why your home is humid with the AC running, resist the urge to solve the problem by lowering the thermostat again. Persistent humidity often points to how the system operates rather than the temperature setting itself. The right repair depends on what is interfering with moisture removal. Once you address the cause, your home should feel more comfortable without forcing the AC to work harder than necessary.

Need air conditioner installation in Philadelphia? W.F. Smith can help with professional guidance and a system tailored to how your home cools. If your current AC leaves rooms feeling humid or struggles to maintain steady comfort, our team will evaluate the setup and recommend an installation or repair approach that fits your home. Schedule a consultation today and take the next step toward more consistent cooling and better indoor comfort.

Is Your Thermostat Causing the AC To Freeze Up?

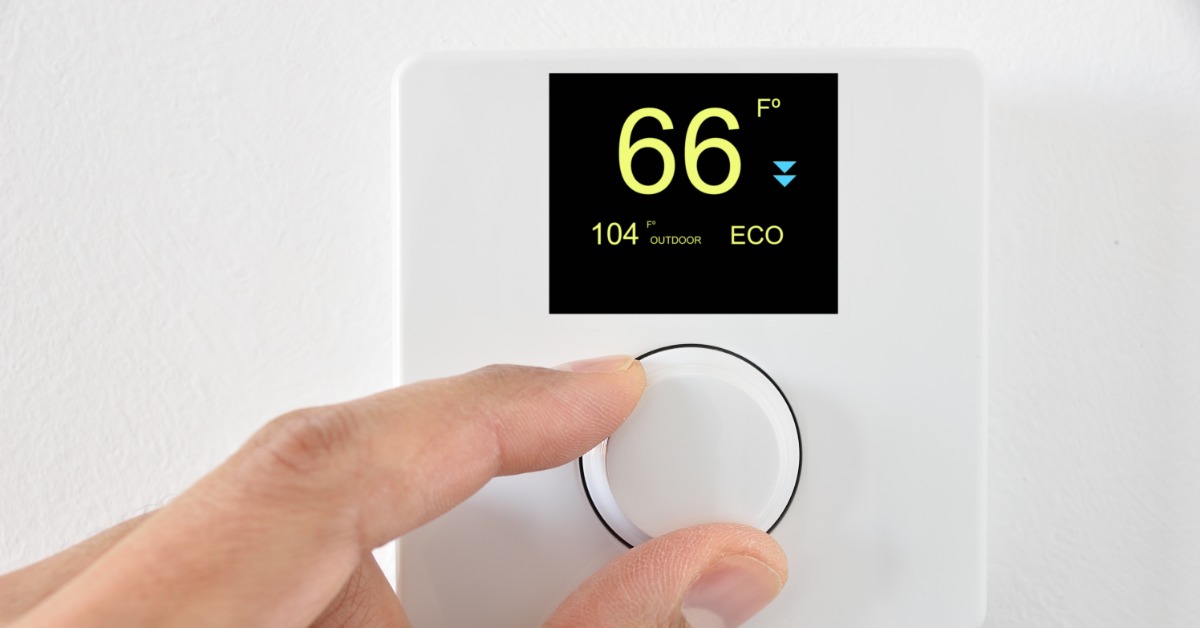
A hand turning a white wall thermostat dial below a digital screen showing 66 degrees, 104 outdoor, and ECO.

Seeing ice on your air conditioner during warm weather can be confusing. After all, if your AC is supposed to cool your home, why would it suddenly start freezing? If you’ve found yourself wondering whether your thermostat is causing the AC to freeze up, you’re not alone.

In many cases, a thermostat can contribute to freezing problems, but it is rarely the only possibility. The thermostat plays an important role because it tells your system when to start and stop cooling. However, airflow restrictions and refrigerant issues can create similar symptoms.

How an AC Freezes in the First Place

To understand whether your thermostat could be involved, it helps to know how freezing happens. Your air conditioner cools your home by pulling warm indoor air across the evaporator coil. The refrigerant inside the coil absorbs heat from the air and carries it outside. Under normal conditions, moisture that collects on the coil drains away safely.

Problems begin when the coil becomes too cold. Instead of draining, moisture freezes on the coil’s surface. As ice builds up, airflow becomes more restricted, which causes the coil temperature to drop even further. Before long, you have a cycle that feeds itself.

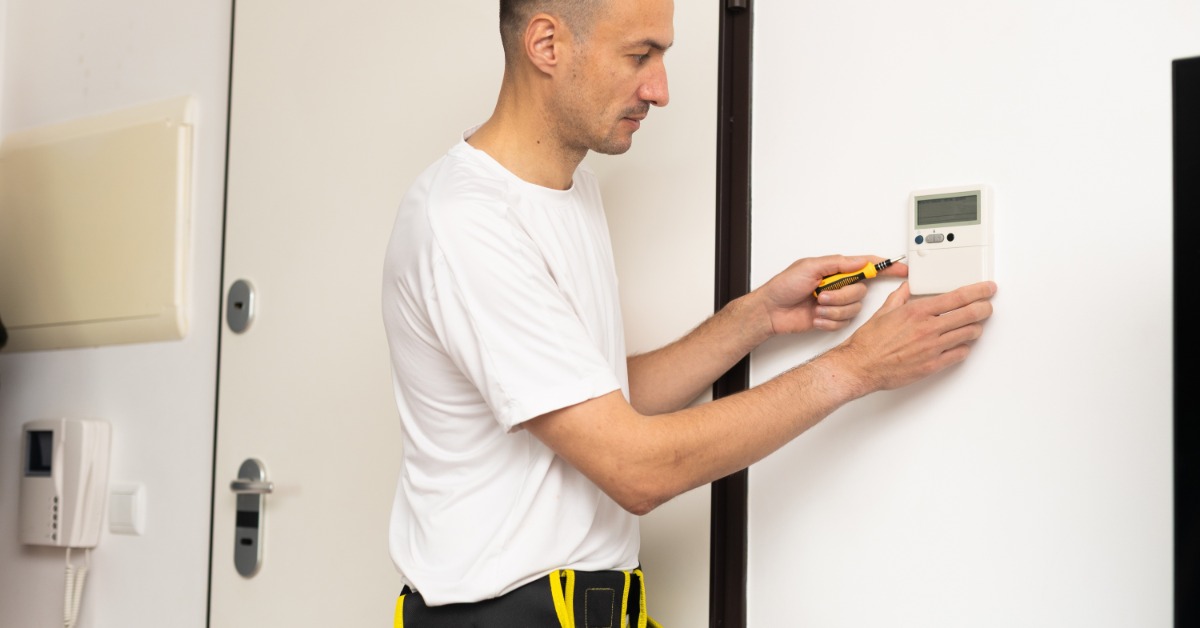
A man in a white shirt holding a screwdriver while installing a small thermostat on a white wall near an entry door.

When the Thermostat Is Part of the Problem

Your thermostat can contribute to freezing by running the system longer than necessary. For example, if the thermostat is reading temperatures incorrectly or continuously calling for cooling, your AC may not get the normal breaks it needs between cycles. An extended runtime can increase the risk of freezing, especially if another issue is already affecting airflow.

You may notice the AC running almost nonstop, uneven temperatures throughout the house, or rooms that stay warm despite continuous cooling. Some homeowners also find themselves constantly adjusting the thermostat without seeing any improvement.

If any of these situations sound familiar, the thermostat deserves a closer look. However, it is important to remember that the thermostat may be revealing another problem rather than causing it directly.

Watch for Constant Cooling Cycles

Have you noticed your AC running for unusually long periods? Long cooling cycles do not automatically mean the thermostat has failed. They can also point to dirty coils, low refrigerant, or excessive heat entering the home. Still, when long runtimes occur alongside ice buildup, it is worth having the thermostat and the rest of the system evaluated together. Your thermostat should help regulate cooling cycles, not keep the system locked in an endless cooling demand.

Low Thermostat Settings Can Trigger Trouble

Many homeowners assume that lowering the thermostat by a large amount will cool the house faster. Unfortunately, that is not how air conditioners work. Setting the thermostat extremely low simply tells the system to keep running until it reaches that temperature.

If airflow is already restricted by a dirty filter or another issue, longer cooling cycles can increase the likelihood of freezing. Think of it this way: your AC needs a steady supply of warm air moving across the evaporator coil. Without enough airflow, the coil temperature can drop too far.

Do Not Keep Lowering the Temperature

When your home feels warmer than expected, it is tempting to keep lowering the thermostat. Before you do, take a moment to look for other signs of trouble. Is airflow weaker than usual? Have you noticed ice around the indoor unit? Does the system seem to run constantly?

If so, continuing to lower the temperature may only make the situation worse. The better approach is to identify why the system is struggling in the first place.

Airflow Problems Often Work With Thermostat Issues

One of the most common causes of AC freezing has nothing to do with thermostat failure at all. Restricted airflow prevents enough heat from reaching the evaporator coil. Without that heat transfer, the coil temperature can fall below freezing.

Several issues can contribute to poor airflow:

  • Dirty air filters
  • Closed or blocked vents
  • Obstructed return grilles
  • Dirty evaporator coils
  • Blower motor problems
  • Damaged ductwork

If your thermostat continues to call for cooling while airflow remains restricted, the risk of ice formation increases. This is one reason routine filter changes are so important. A simple clogged filter can create conditions that eventually lead to a frozen system.

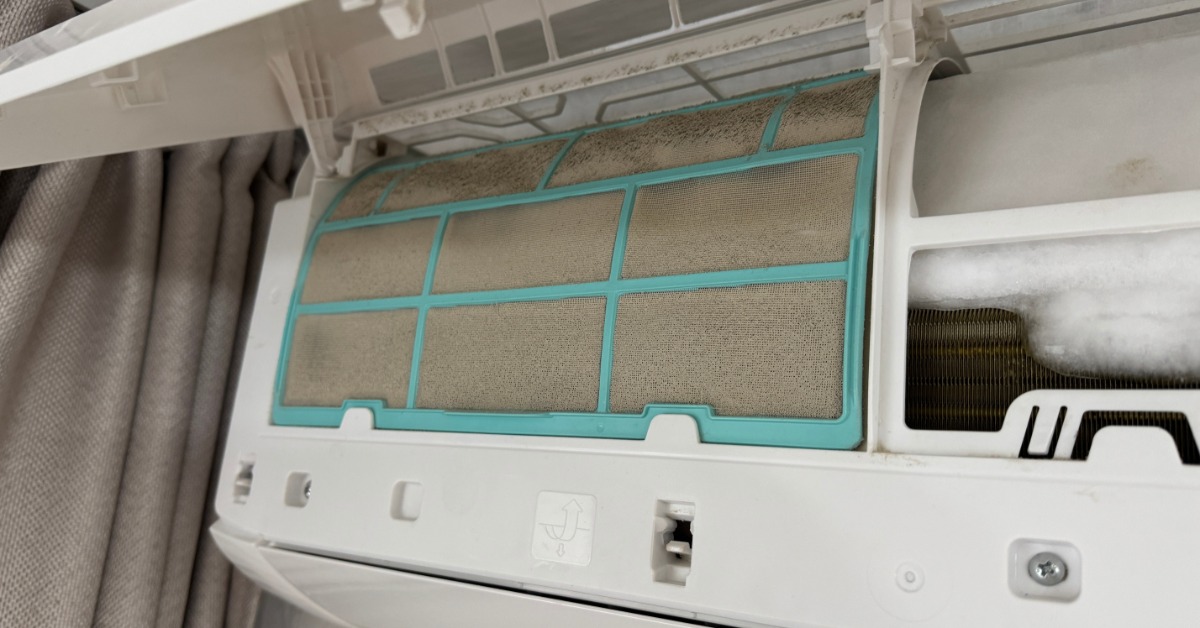
A dusty air conditioner filter with a turquoise frame beside white ice buildup inside an open indoor unit.

What to Do When You See Ice on the AC

If you discover ice on your system, there are a few steps you can take before scheduling service. First, turn off the cooling mode. Continuing to run the AC while ice is present can increase strain on the equipment. Next, allow the system to thaw completely. If your thermostat allows it, switching the fan setting to “on” can help circulate air and speed up the thawing process.

While waiting for the ice to melt, check the air filter and verify that the thermostat is set correctly. If you notice visible ice on refrigerant lines or the indoor unit, avoid restarting the cooling system until everything has thawed. If the system freezes again after thawing, it is time for professional service.

When a Thermostat Replacement Makes Sense

Sometimes the thermostat really is the problem. Older thermostats can lose calibration or struggle to communicate properly with the HVAC system. In those situations, replacement may improve comfort and system performance.

Modern programmable and smart thermostats offer additional benefits, but proper installation remains important. If you suspect your thermostat may be contributing to freezing issues, professional testing can determine whether replacement is necessary.

How Maintenance Helps Prevent Freeze-Ups

One of the best ways to avoid AC freezing is through regular maintenance.

Routine inspections allow technicians to identify developing problems before they become major repairs. During a maintenance visit, they can evaluate airflow, inspect coils, check refrigerant levels, and verify thermostat operation. Here are a few signs that it may be time to schedule professional service:

  • Ice forming on the indoor unit or refrigerant lines
  • Weak airflow from vents
  • Rooms that never seem to reach the desired temperature
  • An AC system that runs constantly
  • Repeated freeze-ups after thawing the system
  • Unexplained increases in energy usage

Getting the Right Diagnosis for a Frozen AC

When ice appears on your air conditioner, it is natural to think that your thermostat is causing the AC to freeze up. However, freezing is usually the result of a larger issue somewhere within the cooling system. The thermostat may be involved, but looking at the entire system provides a clearer picture and helps prevent repeat freeze-ups.

If your home feels warm despite the AC running, or if you notice ice forming around the indoor unit, W.F. Smith can help identify the cause before the problem gets worse. We offer heating and cooling services in Philadelphia designed to address thermostat issues and other AC problems with clear, reliable service. Schedule your appointment today and get your cooling system back to steady, dependable comfort.

9 Pro Tips for Cleaning Your Home’s Air Conditioner Coils

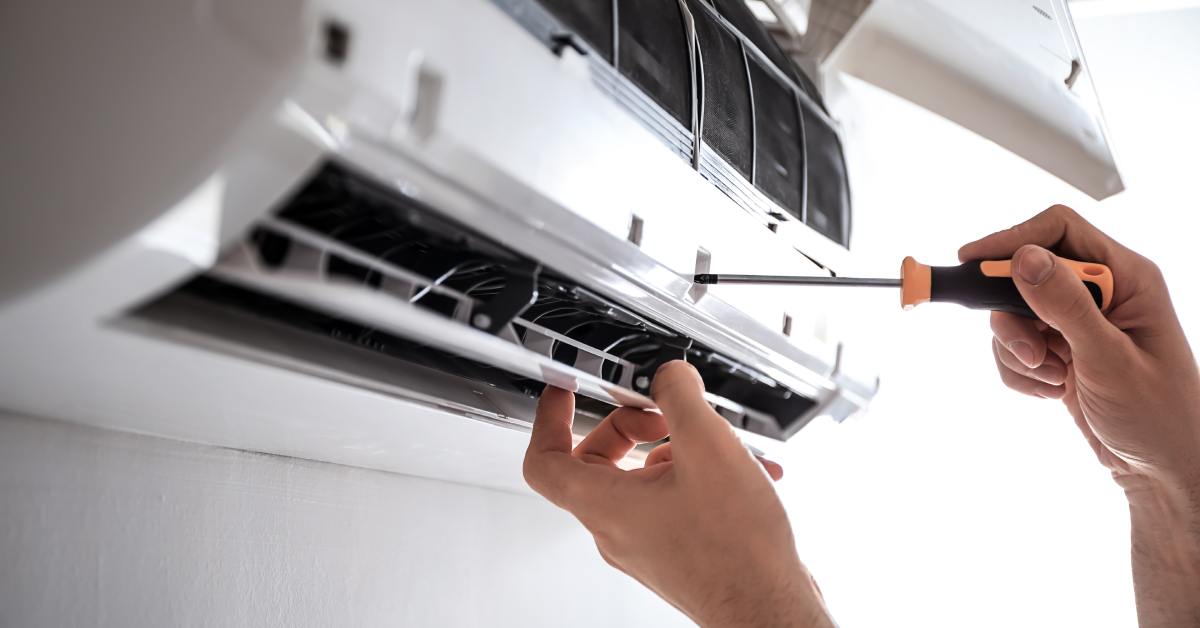
Technician servicing indoor wall-mounted air conditioner, checking wiring and components during maintenance.

Air conditioner coils do a quiet but critical job: they move heat, manage humidity, and help your system run efficiently when temperatures climb. When coils get coated with dust, pollen, or grime, your AC has to work harder to deliver the same comfort, and that strain can show up as higher bills, longer run times, or uneven cooling. Read on as we break down nine pro tips for cleaning your home’s air conditioner coils.

Start With the Right Coil Basics

When people hear “coil cleaning,” they often picture a quick rinse and a quick fix. In reality, coils are delicate and closely tied to airflow, humidity control, and overall system performance.

The Difference Between Evaporator and Condenser Coils

Your evaporator coil typically sits inside, near the air handler or furnace, and it absorbs heat from the air moving through your home. Your condenser coil sits outside in the outdoor unit and releases that heat outdoors.

Both coils need clean surfaces to move heat efficiently, but they get dirty in different ways. Outdoor coils collect debris from weather and landscaping, while indoor coils often build up dust from airflow issues and filtration gaps.

Understand What Dirt Does

Even a thin film of grime acts like insulation on the coil surface, slowing heat transfer. That can lead to longer cycles, reduced comfort, and, in some cases, coil freezing if airflow is restricted enough. Dirty coils can also worsen indoor humidity because the system struggles to remove moisture effectively. Cleaning won’t solve every AC problem, but it can remove one of the most common causes of performance loss.

Know Why Coil Cleaning Is Often a Pro Job

Coils sit near sensitive components, and they can be damaged by excess force, the wrong cleaner, or too much moisture in the wrong place. Indoor coil access can require panel removal, careful re-sealing, and safe handling around wiring and drain systems.

Outdoor coils can be bent easily, and damaged fins restrict airflow. In many cases, the safest and most cost-effective option is scheduling a professional cleaning rather than taking the unit apart.

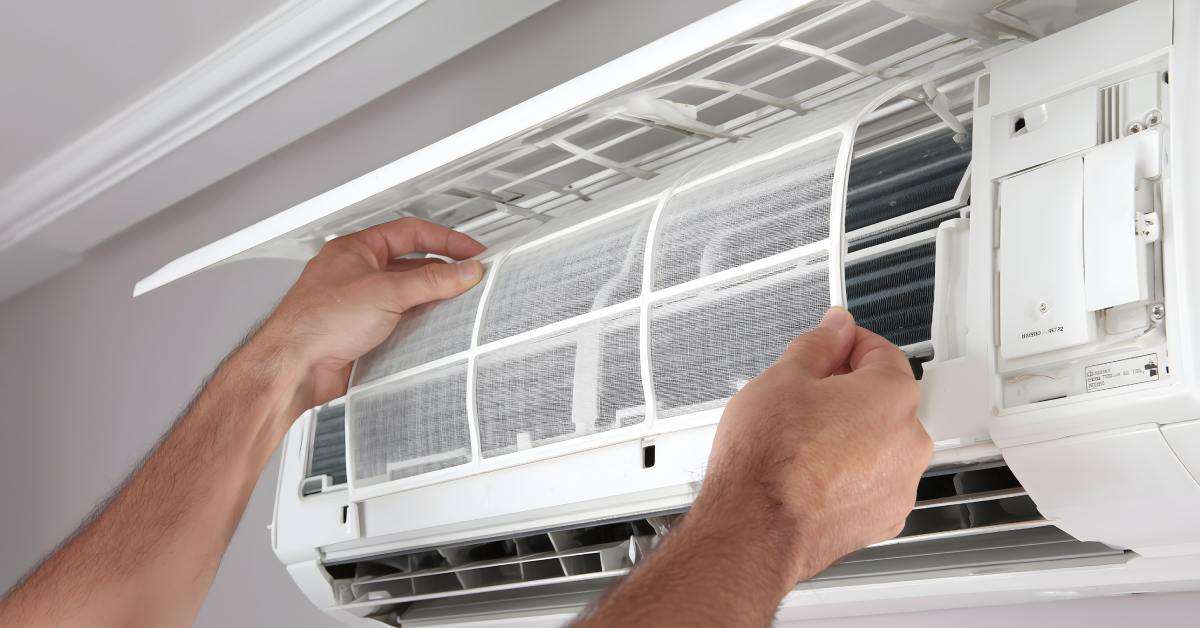
A person's hands removes and rinses a dusty AC filter, keeping indoor air cleaner and cooling efficient year-round.

Support Coil Health With Low-Risk Maintenance

A few simple habits can keep dirt from accumulating as quickly, and they also make professional service more effective when it’s time for a tune-up.

Replace Filters on a Consistent Schedule

A clogged filter reduces airflow, which can contribute to coil icing and faster dirt buildup. Use the correct size and avoid forcing a poor fit that leaves gaps. Replacing the filter every one to three months is a strong baseline, adjusted for pets, allergies, and dust levels. Consistent filter changes help protect the indoor coil from becoming a sticky dust magnet.

Keep Vents and Returns Clear

Blocked returns starve the system of airflow and can make the coil run colder than it should. Make sure furniture and rugs aren’t covering return grilles, especially where return placement is limited. Keep supply vents open to allow air to circulate as designed. If a room stays uncomfortable, it’s usually a sign of balance or duct issues rather than something vent adjustments can fix.

Maintain Clearance Around the Outdoor Unit

Outdoor coils need space to breathe! Remove leaves and debris around the condenser, and trim plants to keep clearance on all sides. After storms or heavy winds, do a quick visual check for lodged debris. This simple habit supports better heat rejection and reduces the likelihood of heavy buildup.

Signs Your Coils Need Professional Attention

If your AC feels like it’s working harder to do the same job, that’s worth taking seriously. Dirty coils are one possible cause, but they can also be a clue that airflow or drainage is not working the way it should.

Longer Run Times and Uneven Cooling

If your system runs longer than it used to, struggles to hit the thermostat setting, or cools some rooms better than others, airflow or coil performance may be part of the story. Dirty coils reduce the system’s ability to transfer heat, slowing cooling and creating temperature differences throughout the house. Older ductwork can compound the issue by leaking conditioned air or restricting flow.

Higher Bills

When utility costs climb during the cooling season, it’s easy to assume it’s only the weather. A dirty coil can add hidden run time that drives up energy use, especially during long stretches of high humidity. If bills are rising and comfort isn’t improving, it’s a good moment to schedule a checkup.

Musty Odors, Humidity, or Water

Coils and drainage go together, so moisture issues can show up as odors or a “clammy” feeling indoors. Musty smells near the indoor equipment can indicate standing water, drainage problems, or buildup around the coil area. Having water near the air handler is a reason to stop and call a professional, since overflow can damage ceilings, walls, and floors. Addressing moisture issues promptly is one of the best ways to avoid costly repairs.

HVAC technician adjusts air conditioner control panel, testing settings and ensuring safe, reliable system operation.

What Professional Coil Cleaning Often Includes

A professional coil cleaning visit is about restoring performance without risking the system. Beyond cleaning, technicians look for the cause of the buildup and check the surrounding components that affect comfort and reliability.

Safe Access and Proper Resealing

Technicians access coils without damaging panels, insulation, or seals that affect airflow. After cleaning, those areas need to be sealed so air can flow through the coil properly rather than leaking around it. Improper sealing can cause small air leaks that can have outsized effects on comfort and run time.

Cleaning Matched to the System and Buildup

A quality cleaning approach depends on the coil condition, equipment design, and the source of the dirt. A technician may use appropriate coil cleaners, controlled rinsing, and fin correction tools when needed. They also look for reasons buildup is happening, such as filtration gaps or duct leakage. Fixing the underlying cause helps keep coils cleaner longer.

Drainage and Performance Checks Afterward

Coil cleaning should include confirming that the drain pan and condensate line are working properly. Many technicians also verify airflow and measure system performance to make sure the equipment is operating within expected ranges. That extra verification helps catch developing problems before they become peak-season breakdowns.

Keeping Coils Clean Without Taking Risks

Coil issues often start quietly, then show up as rising bills, uneven temperatures, or humidity that never feels quite right. The most dependable approach is to handle low-risk upkeep, watch for early warning signs, and schedule professional maintenance before peak season. Keep these nine pro tips for cleaning your home’s air conditioner coils in mind, and you protect your system from avoidable damage and reduce the odds of surprise breakdowns.

Need a system clean-up? W.F. Smith is a heating and cooling company that offers system maintenance you can rely on, with thorough inspections that go beyond surface-level fixes. If your AC has been running longer, feeling less consistent, or showing signs of strain, our team can identify what’s really driving the issue and restore efficient performance without guesswork. Schedule maintenance today to help prevent mid-season breakdowns and keep your home comfortable all season long.

HVAC Maintenance Best Practices for Philadelphia Homeowners

Light shines down on a white brick wall. Attached to it are two HVAC units sitting atop concrete, next to greenery.

Philadelphia’s swings from humid summers to drafty winters can push HVAC systems hard, especially in older homes with tight mechanical closets and aging ductwork. Proper maintenance comes down to a few repeatable habits that protect comfort, efficiency, and indoor air quality without turning your weekends into a full-time job. Read on as we take a look at HVAC maintenance best practices for Philadelphia homeowners.

Know What You Have and What It Needs

Before diving into tasks, it helps to identify your system type and how it operates in your home.

Identify Your System Type and Fuel Source

Start by confirming whether you have a forced-air furnace, boiler and radiators, a heat pump, or a ductless mini-split setup. If you’re unsure, check the data plate on the indoor unit and the outdoor condenser, or look at your utility bill patterns. Knowing the model and approximate age makes it easier to plan maintenance and replacement timelines.

Note Home Details That Affect Performance

Many Philadelphia homes have unique airflow challenges, including finished basements, converted attics, and additions that weren’t tied into the original duct design. Leaky windows, poor insulation, and older returns can cause your system to run longer than it should, even if the equipment is in good shape. Additionally, pay attention to hot and cold spots and how quickly rooms recover after the system cycles.

A dark gray HVAC heating and cooling unit sits atop stone pebbles, attached to a yellow residential home.

Follow a Seasonal Rhythm in Philadelphia

Philadelphia weather creates predictable stress points for heating and cooling equipment.

Spring: Prep for Cooling Before Humidity Arrives

As temperatures rise, replace or clean your air filter and make sure supply vents aren’t blocked by rugs or furniture. Clear leaves and debris around the outdoor condenser so it can breathe, and confirm its level on its pad. Run the system for 10 to 15 minutes to confirm steady cooling. Listen for new noises if you notice weak airflow, uneven temperatures, or water around the indoor unit.

Summer: Protect Efficiency During Peak Demand

In humid months, keep the area around your indoor unit clean and dry to reduce dust buildup and prevent musty odors. Watch for longer run times and “clammy” indoor air, which can signal airflow restrictions or improper system sizing. Set your thermostat to a consistent, realistic temperature rather than frequent, large swings that make the equipment work harder.

Fall: Get Ahead of Heating Season

Before you switch to heat, replace the filter again and vacuum dust from return grilles. For gas furnaces, pay attention to any unusual smells beyond a brief “first run” odor from burning off dust. A fall tune-up is also a good time to verify safe ignition and proper combustion.

Winter: Maintain Comfort Without Overworking the System

Keep supply and return vents open even in rooms you rarely use, since closed vents can create pressure issues and reduce overall performance. Monitor indoor humidity, because overly dry air can feel colder and lead you to crank the thermostat higher than necessary. Listen for rattles, rumbling, or whistling that could indicate loose panels, duct leaks, or blower strain.

Keep Cooling Equipment Healthy

Air conditioners and heat pumps need clean coils, clear drainage, and steady airflow to perform well.

Maintain the Outdoor Condenser Area

Give the outdoor unit at least a couple of feet of clearance on all sides so it can release heat properly. Trim vegetation, remove trash and leaves, and avoid storing items against the unit. After storms, check for lodged debris and make sure the fan spins freely when running. If the unit is bent, making loud grinding sounds, or has damaged fins, schedule a service rather than trying to force it to run.

Prevent Drain and Moisture Problems

Your indoor coil removes moisture, and that water must drain correctly; if it doesn’t, it can overflow and cause damage. If you can safely access the condensate line, check for slow draining or visible algae buildup and address it early. If you have recurring clogs or water in the overflow pan, a technician can clean and adjust the system to reduce the likelihood of repeat issues.

Early Signs of Refrigerant or Coil Trouble

Poor cooling, warm air from vents, ice on the indoor coil or refrigerant line, and hissing sounds can point to refrigerant issues or coil performance problems. Refrigerant handling should be left to licensed HVAC pros, so focus on noticing symptoms and shutting the system down if icing occurs. Continuing to run an iced system can damage the compressor and lead to expensive repairs.

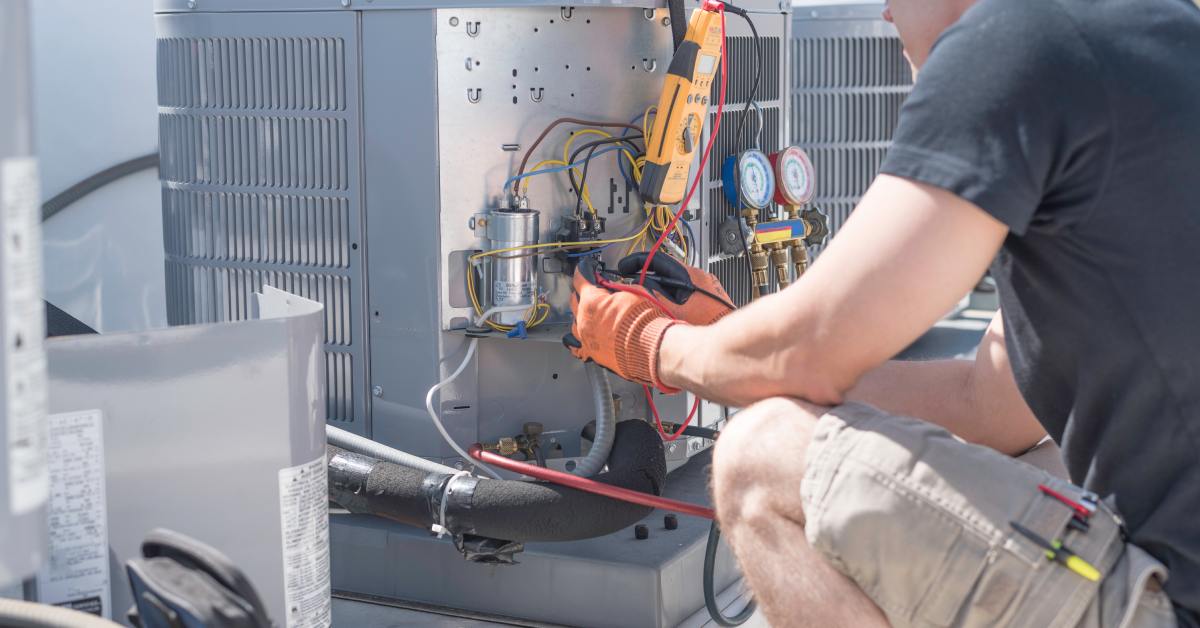
An HVAC technician wearing a black shirt and a hard hat crouches down to check an HVAC unit on a rooftop.

Keep Heating Equipment Safe and Reliable

Heating systems require maintenance for both performance and safety, particularly with fuel-burning equipment.

Gas Furnace Safety

A brief dusty smell on the first fall run can be normal, but persistent odors, visible soot, or frequent shutdowns are not. Make sure carbon monoxide detectors are installed and working, especially near bedrooms. If you notice headaches, nausea, or dizziness that improve when you leave the house, treat it as urgent and get fresh air immediately.

Heat Pumps

Heat pumps can heat efficiently in many conditions, but they rely on proper airflow and a well-functioning defrost cycle in colder weather. If you see frequent icing on the outdoor unit that doesn’t clear, or if you feel cool air during heating mode for extended periods, it’s time for service. Keep snow and ice from piling around the outdoor unit and avoid blocking it with tarps.

Know When to Call a Pro and What to Expect

Some maintenance is homeowner-friendly, but certain checks require specialized tools and training. The sections below explain when professional HVAC service makes the most sense, what a thorough visit should include, and how to plan ahead while protecting your budget.

Schedule Preventive Service

The best time for service is before the busiest seasons, typically spring for cooling and fall for heating. Preventive checks can catch failing capacitors, worn belts, unsafe burners, and drainage problems before they cause a breakdown. In Philly’s peak months, emergency appointments can be harder to schedule and more stressful. A predictable maintenance rhythm helps you stay in control.

How to Choose the Right HVAC Partner

Look for licensed and insured providers with clear communication and transparent pricing. Ask whether they perform combustion analysis for gas systems and what their tune-up includes. A good partner will help you prioritize fixes rather than push unnecessary upgrades.

Plan for Aging Equipment

Keeping your home comfortable in every season doesn’t require complicated routines, but it does reward consistency and attention to early warning signs. By following these HVAC maintenance best practices for Philadelphia homeowners, you can reduce breakdown risk, improve indoor air quality, and make your system run more efficiently through the city’s toughest weather stretches.

W.F. Smith offers expert heating and cooling services in Philadelphia, helping you stay ahead of seasonal wear and tear, prevent unexpected breakdowns, and keep your system running efficiently. Whether you need routine maintenance, timely repairs, or clear guidance on your next steps, our team is here to keep your home comfortable year-round.